Since we just released Galera Manager, it seemed like a good idea to do a deployment on Amazon Web Services (AWS) using Red Hat Enterprise Linux 8 and MySQL 8.
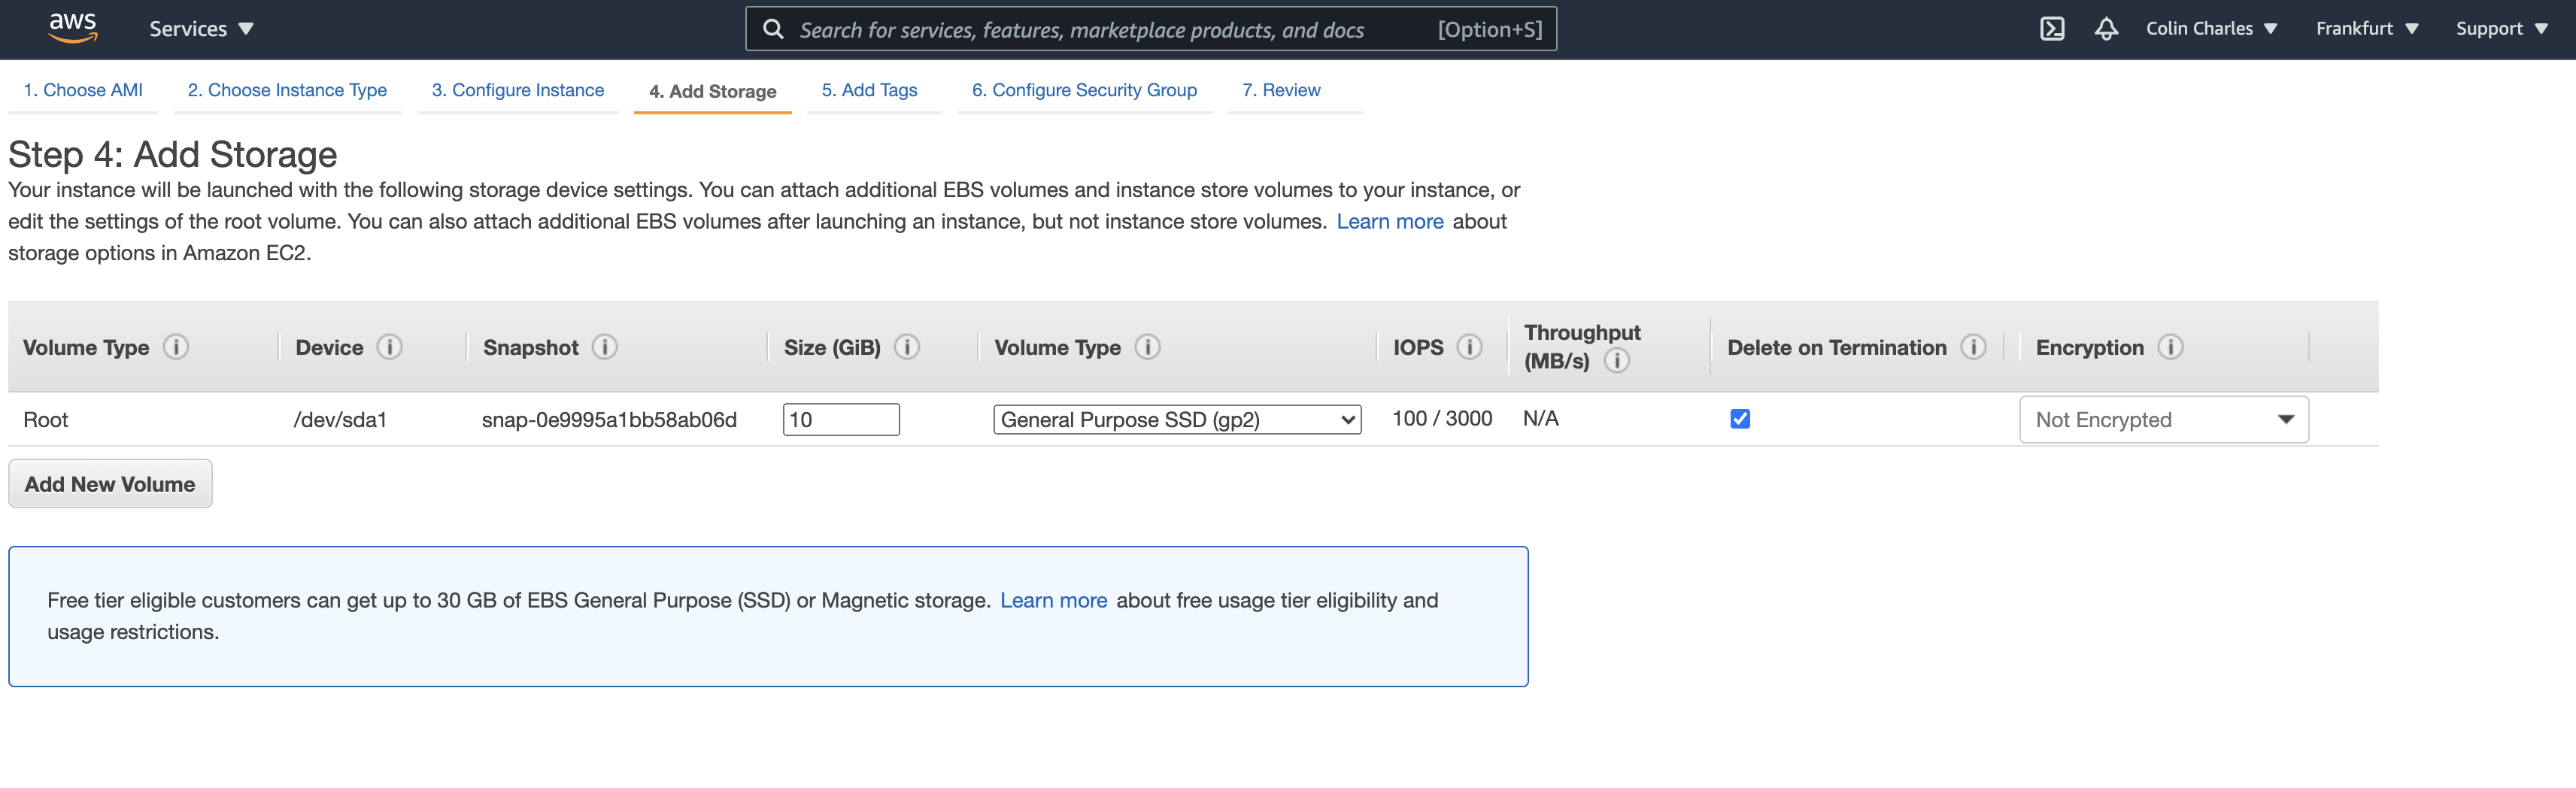
We start by launching an EC2 instance and choosing Red Hat Enterprise Linux 8 (HVM) and most importantly, we only choose the 64-bit (x86) architecture as we do not support ARM just yet. We choose a t2.micro instance for Galera Manager since this is just a test instance, but it is well worth knowing that 10GB which is the default EBS size may be a little small if you plan on using this for sometime.
Log files tend to grow large, and grow fast, and you do not want to run out of disk space. The default for purging logs is currently set at 30 days, yet there is no way to prune it automatically, so you may find that InfluxDB which we utilise, will fill up your /var/log/messages and /var/log/journal (the systemd journals).
Make sure you have the keypair or generate one and use the .pem file.
Logon via SSH, e.g.
ssh -i galera.pem ec2-user@54.93.100.238
Once there, become the root user (something like: sudo su), and then you need to install wget via yum install wget. Once this is done, download the gm-installer and do a chmod +x gm-installer to ensure that you can execute it via: ./gm-installer install.
Accept the EULA, enter an admin password, and just let the install happen by itself. Once this is done, you’re told to ensure that you should open up some ports in the firewall, which you can do via a Security Group. By default port 22 is already open, so you could get away with just opening port 80 (and if you have SSL, 443).

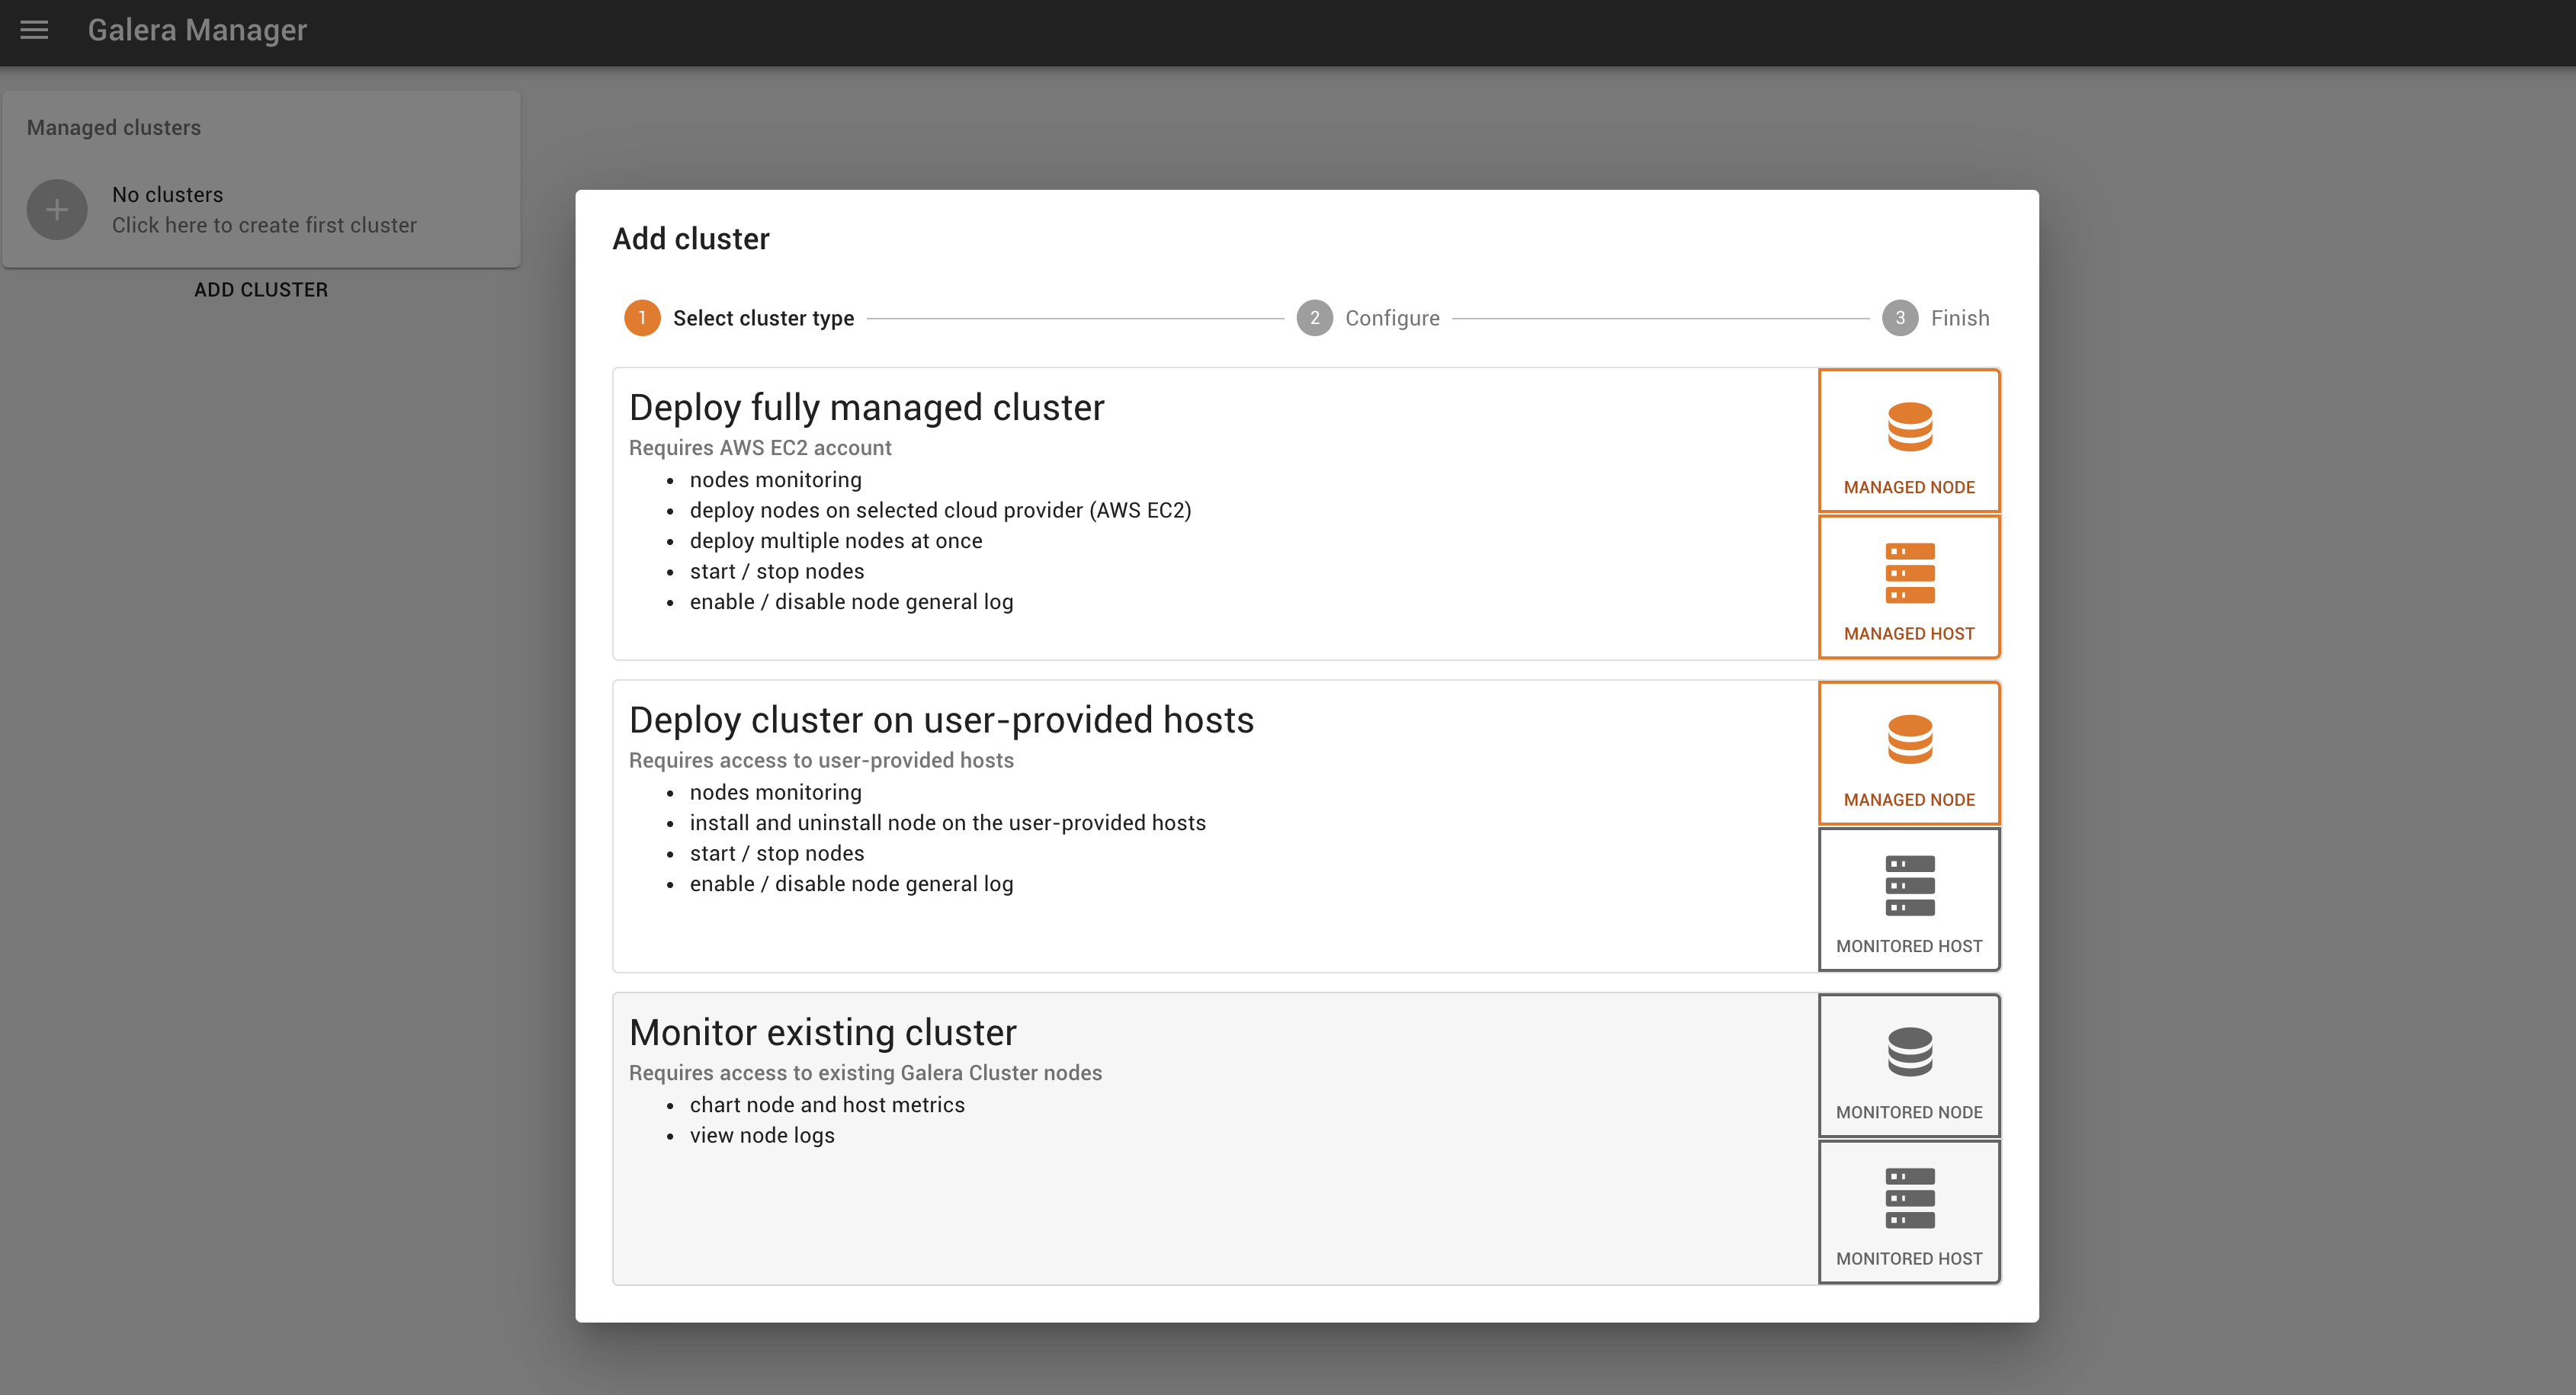
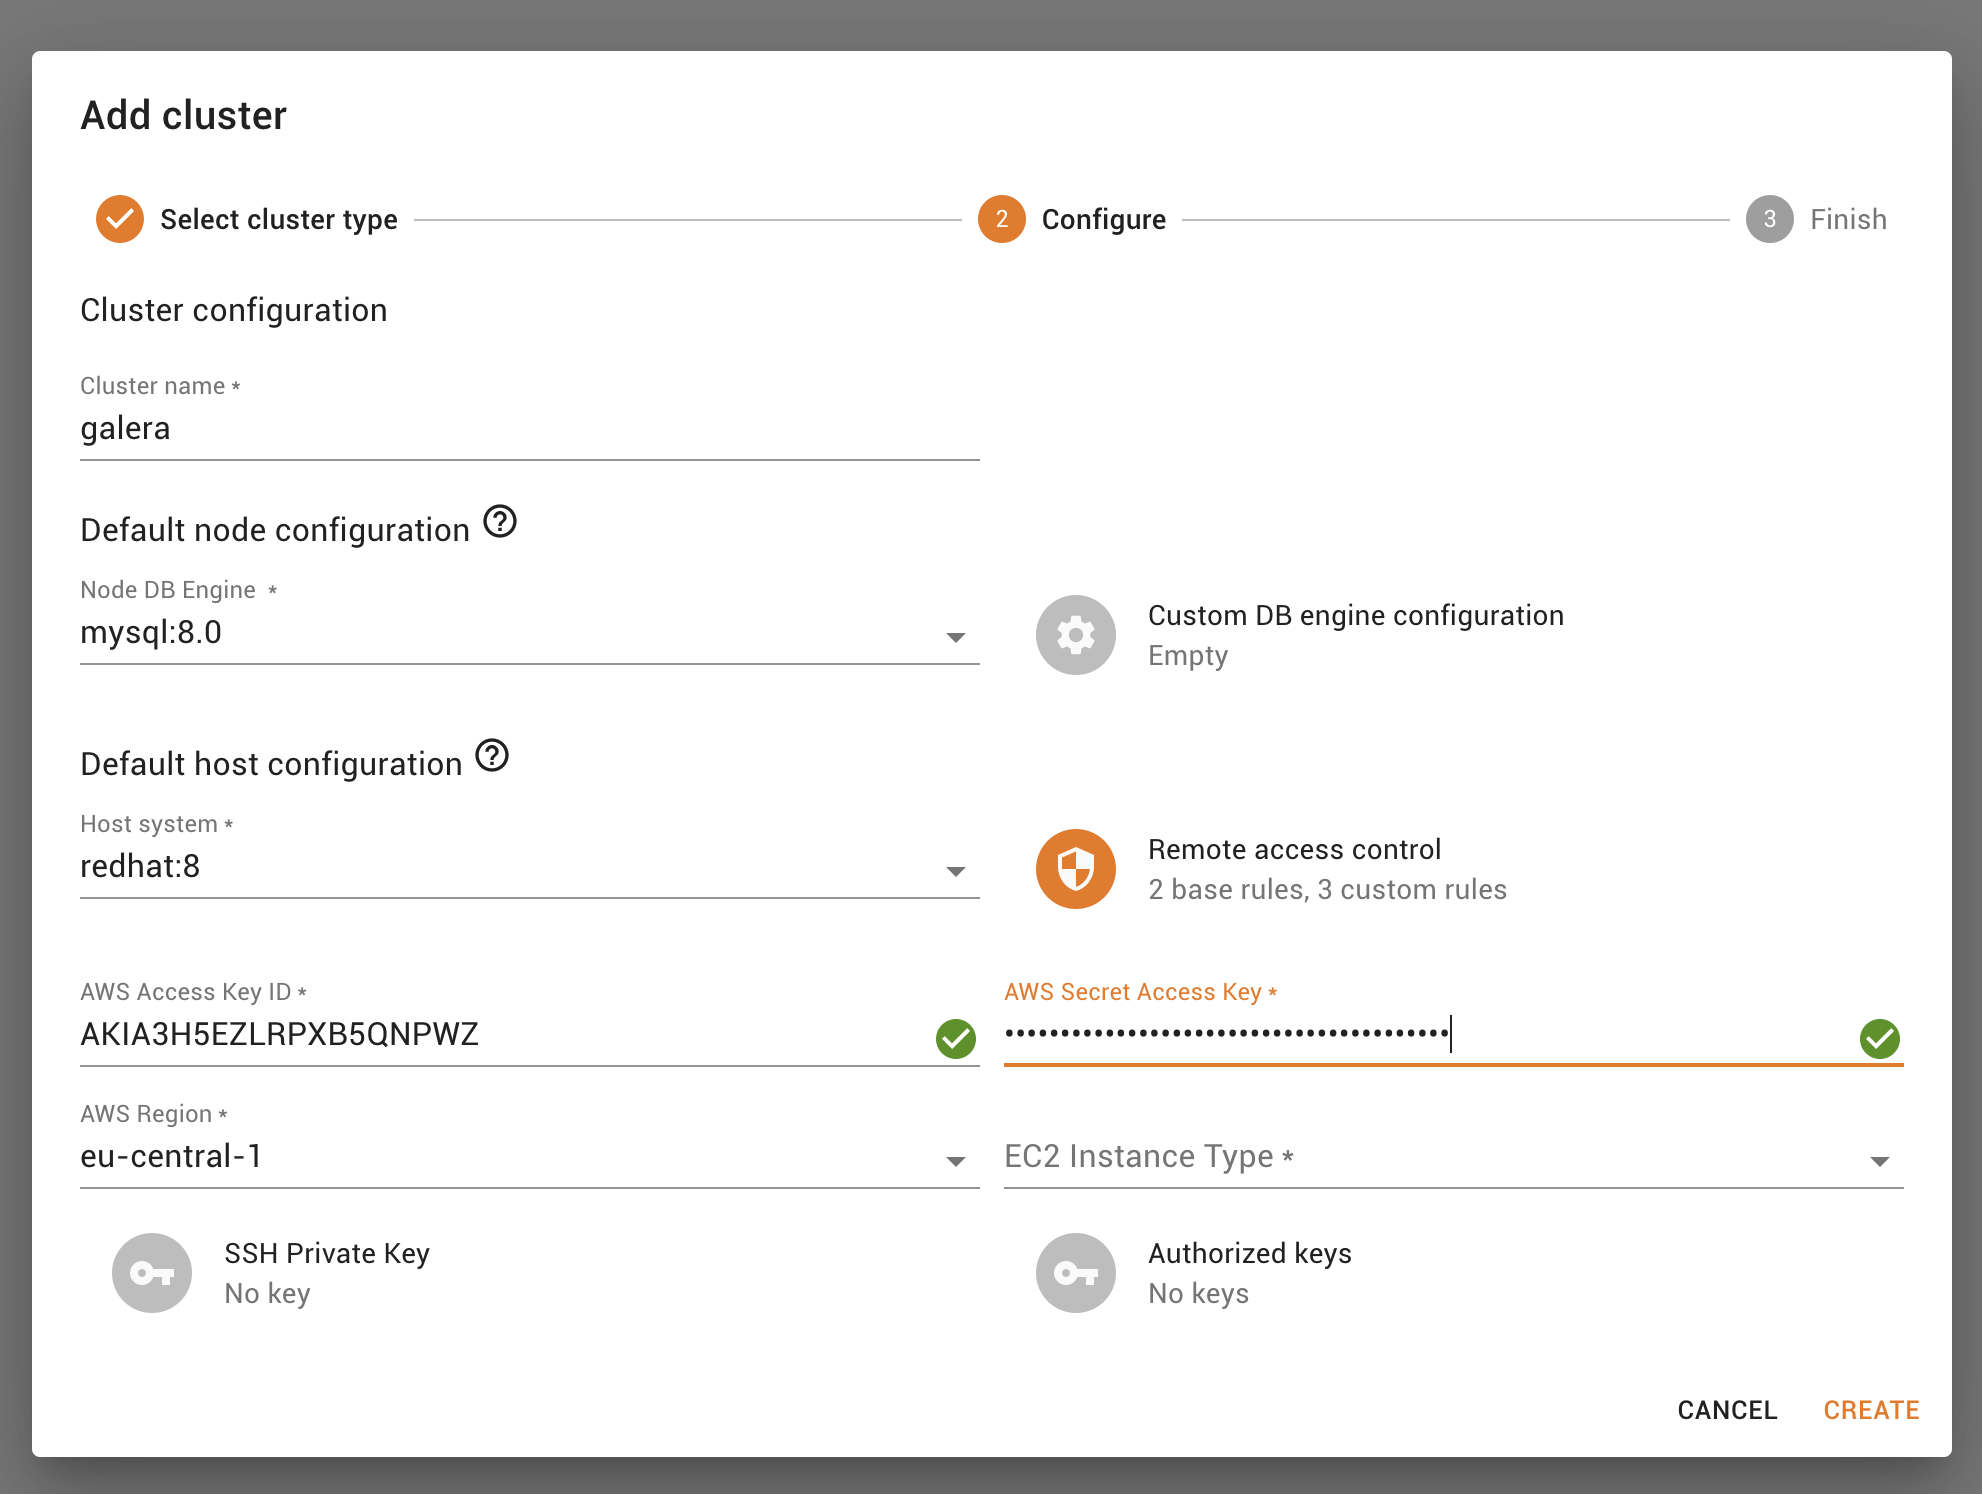
Connect to the URL, login, and create a cluster as follows.
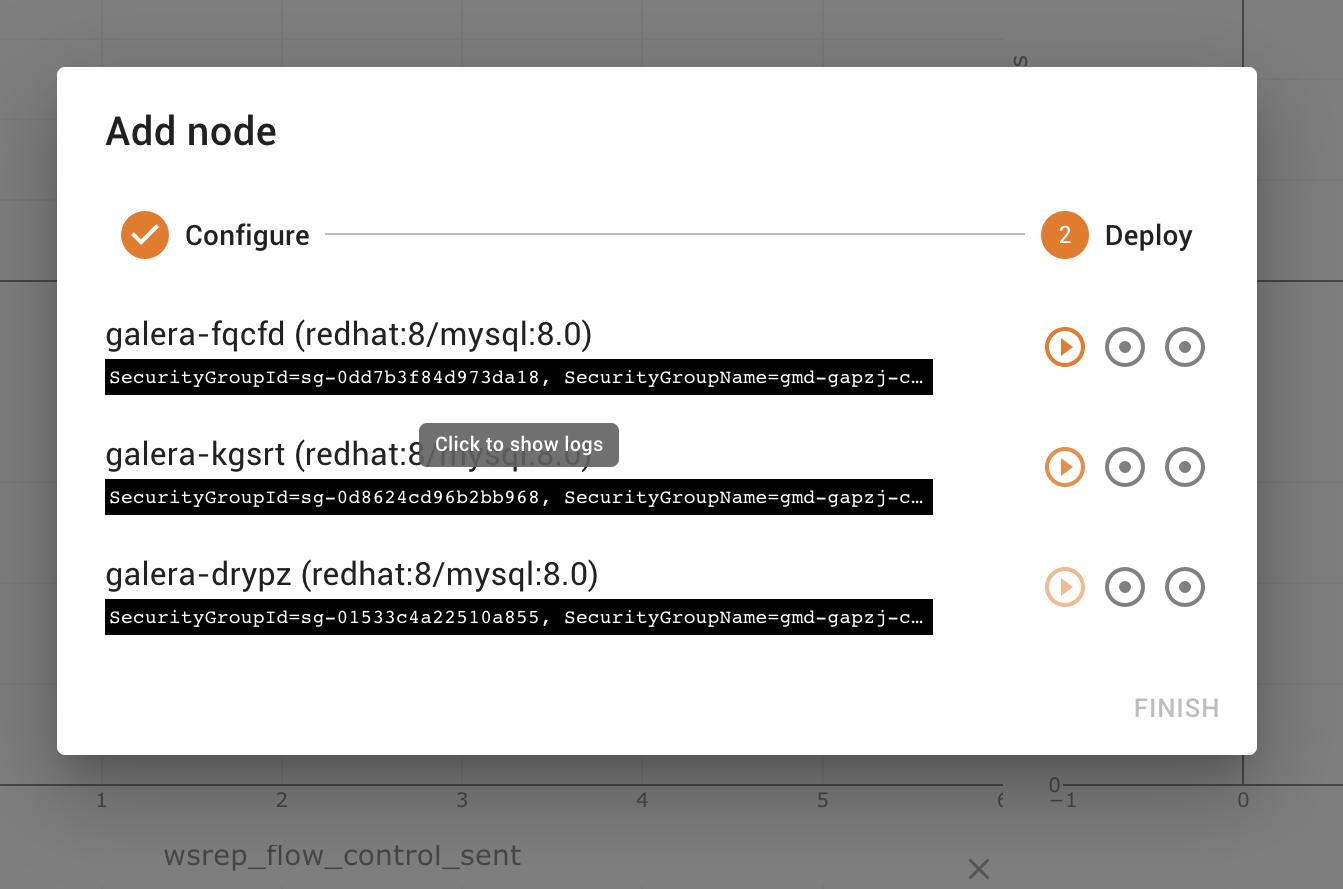
Once you have created the cluster, you can now add nodes. We have chosen to add 3 in this example.

Go grab a coffee during this time, while the three nodes are being deployed. Note below that we now also validate your AWS access credentials!
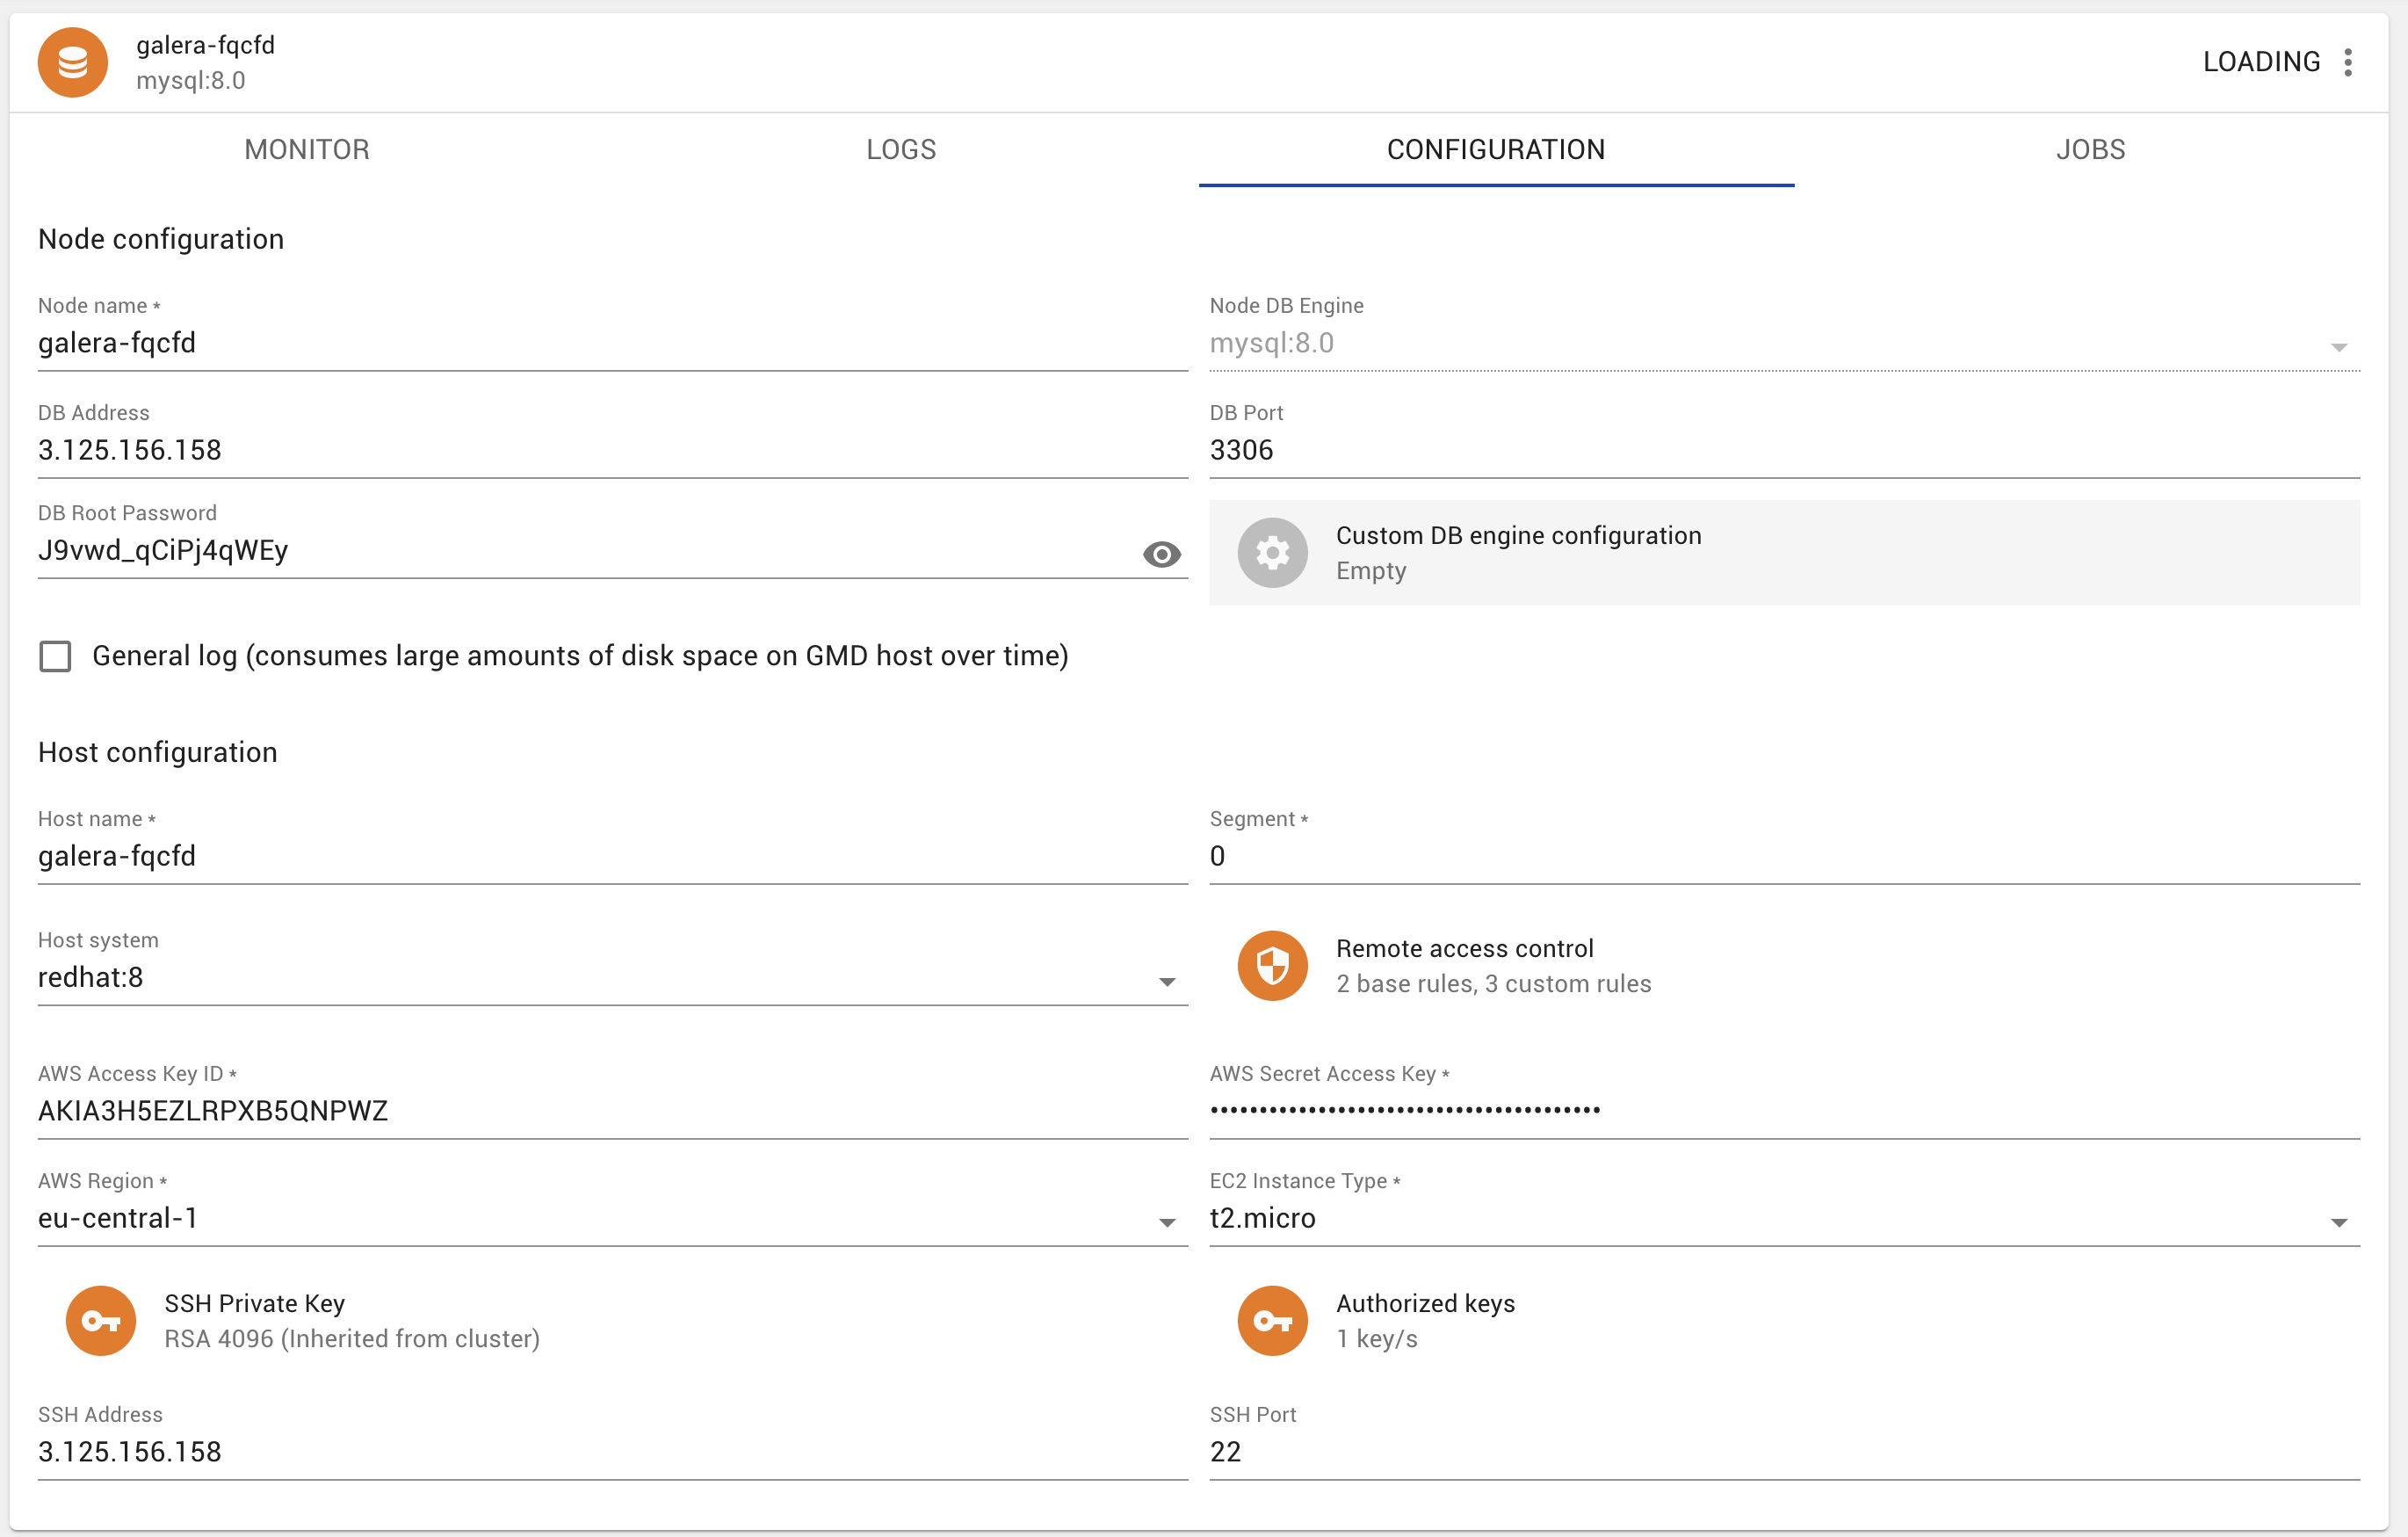
Now you have a 3 node Galera Cluster that you can connect to! Head on over to the configuration to get your IP address, the passwords as you all know would be synchronised, so you can now access your MySQL instance simply by doing:
mysql -h 3.66.214.81 -uroot -p
Enter password:
Welcome to the MySQL monitor.  Commands end with ; or \g.
Your MySQL connection id is 376
Server version: 8.0.25 MySQL Community Server - GPL
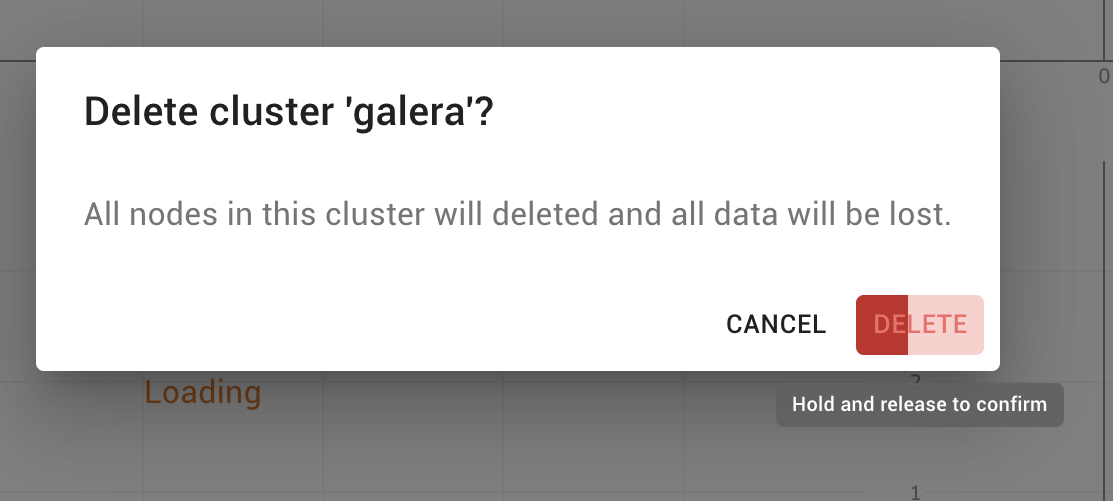
Congratulations, this is a 3 node Galera Cluster. You can do plenty with it, as per your normal running of a Galera Cluster. You can add nodes, you can delete nodes, you can individually stop nodes, restart nodes, add different monitoring options, and so on. When you’re done, you can Delete the cluster, and you have to remember to “press for a while” (i.e. hold and release to confirm) when you are ready to delete. Galera Manager will handle the deletion of the 3 nodes, but you still have to visit your Amazon console to remove the instance where you installed the installer and where you access Galera Manager.
Happy clustering!