While Galera Manager is ideal for deploying on Amazon AWS or DigitalOcean, or even on your own on-premise hosts, there is a third option that exists, that allows you to monitor an existing cluster that you already have installed. While we won’t go thru installing a Galera Cluster in this post, we will show you how to get Galera Manager to function for this purpose.
Obtain Galera Manager via filling in the form. Once you have the gm-installer on your Galera Manager host, remember to execute: chmod +x gm-installer. We recommend also executing sudo su to install Galera Manager as the root user.
Then you can verify the version: ./gm-installer version gm-installer version 1.9.3 (linux/amd64)
And to get started, execute: ./gm-installer install.
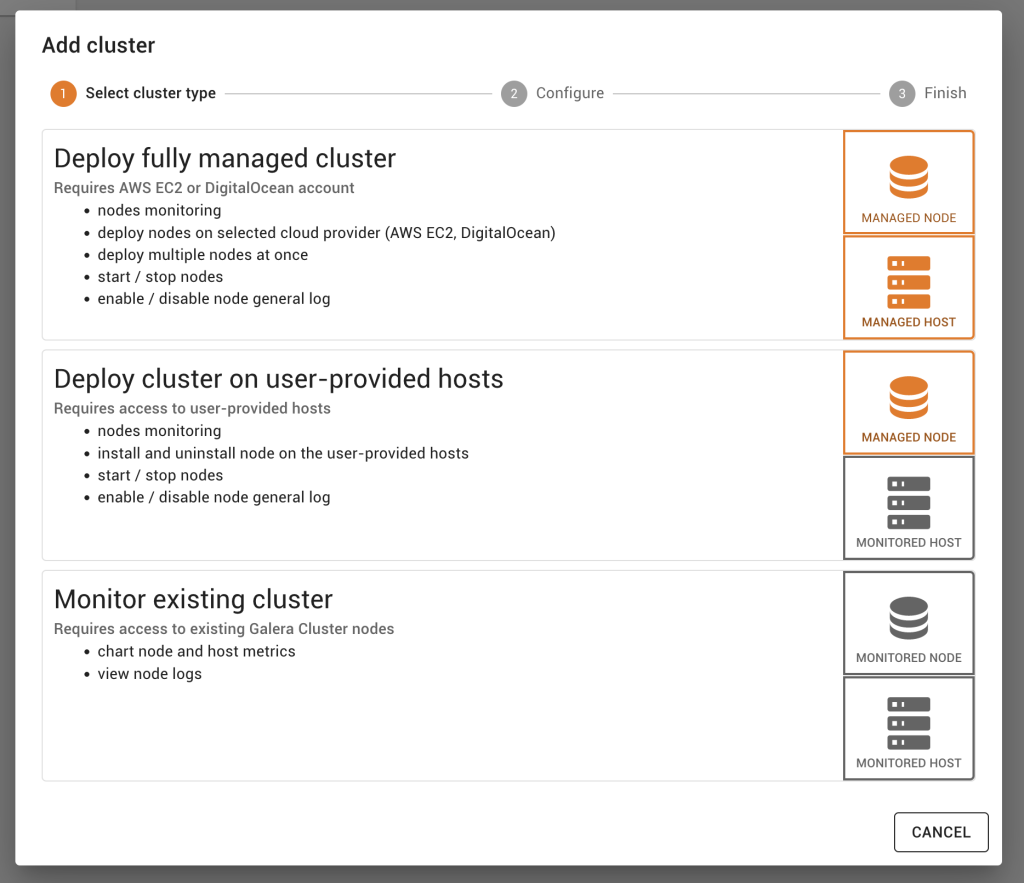
Accept the license agreement, enter the admin password, enter the IP (means you get a install over HTTP) or hostname (this install then executes over HTTPS), and you’re on your way to getting your Galera Manager host installed. Once the install is complete (in about 5 minutes), go to your web browser, login, and you will be able to Add cluster. Choose Monitor existing cluster.
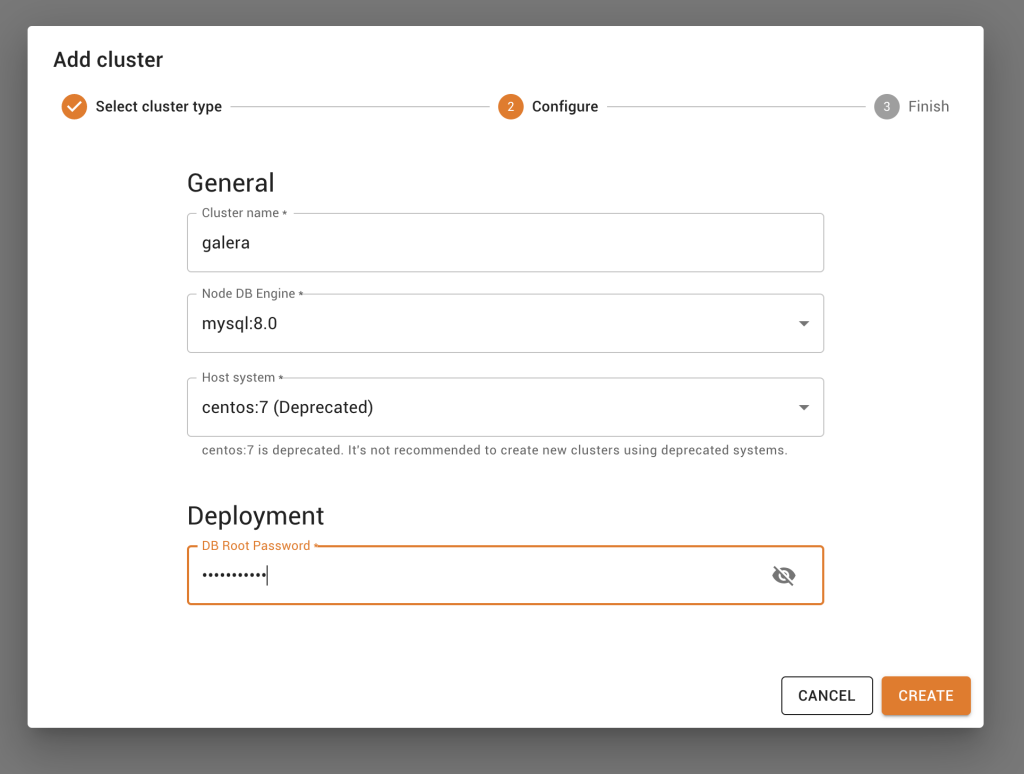
Once done, you should Add cluster and here all you have to provide is the cluster name, the database engine being used, the host system, and the password to access MySQL.
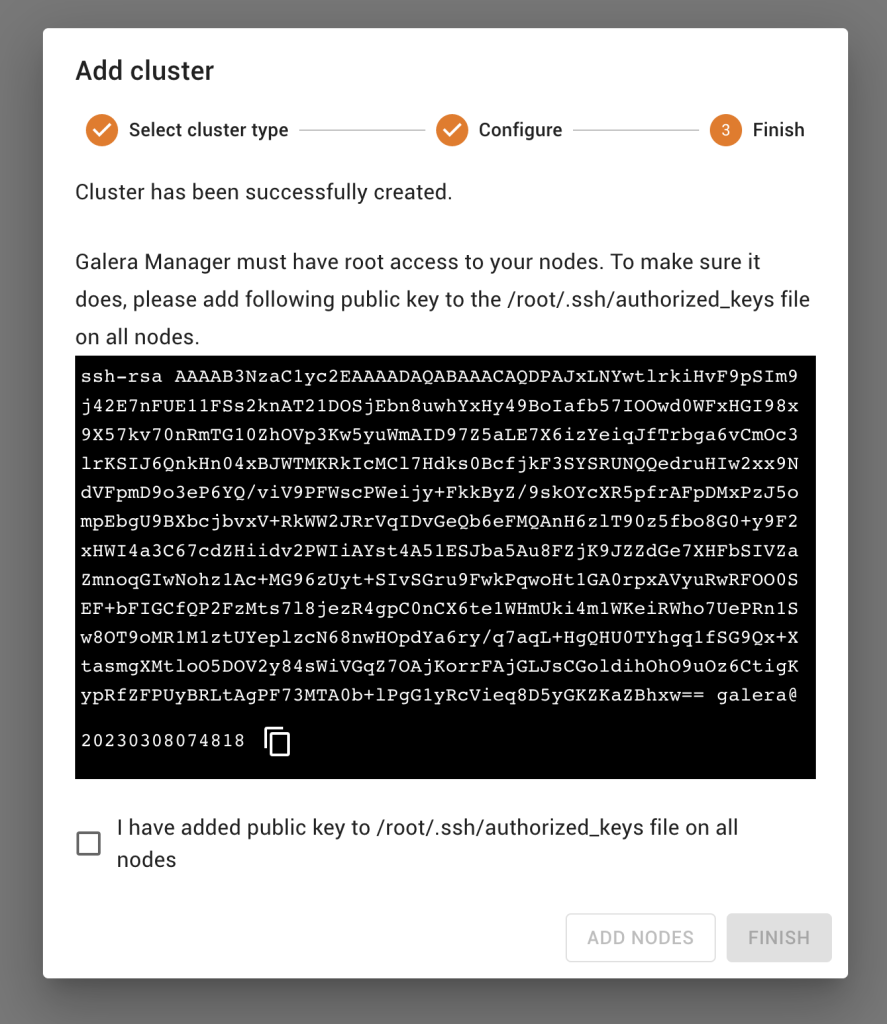
You are then prompted to ensure that you have added the SSH key pair to /root/.ssh/authorized_keys. Once done, state so, and only then can you finish.
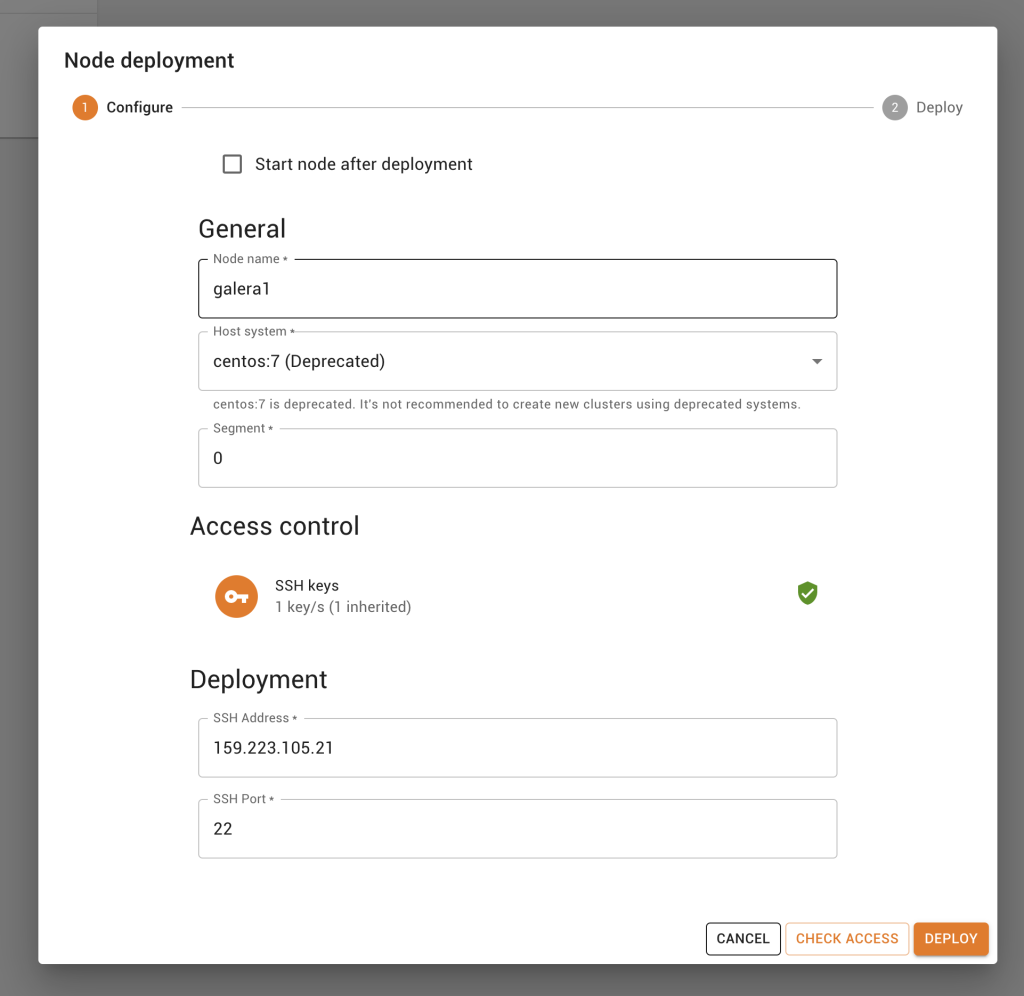
Now it is time to add a node.
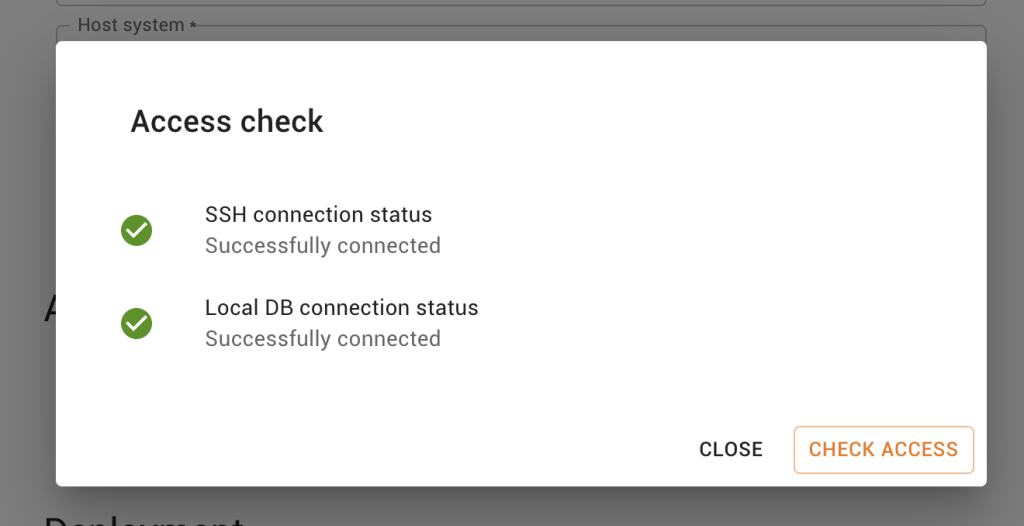
We always recommend that you CHECK ACCESS to ensure that SSH is working.
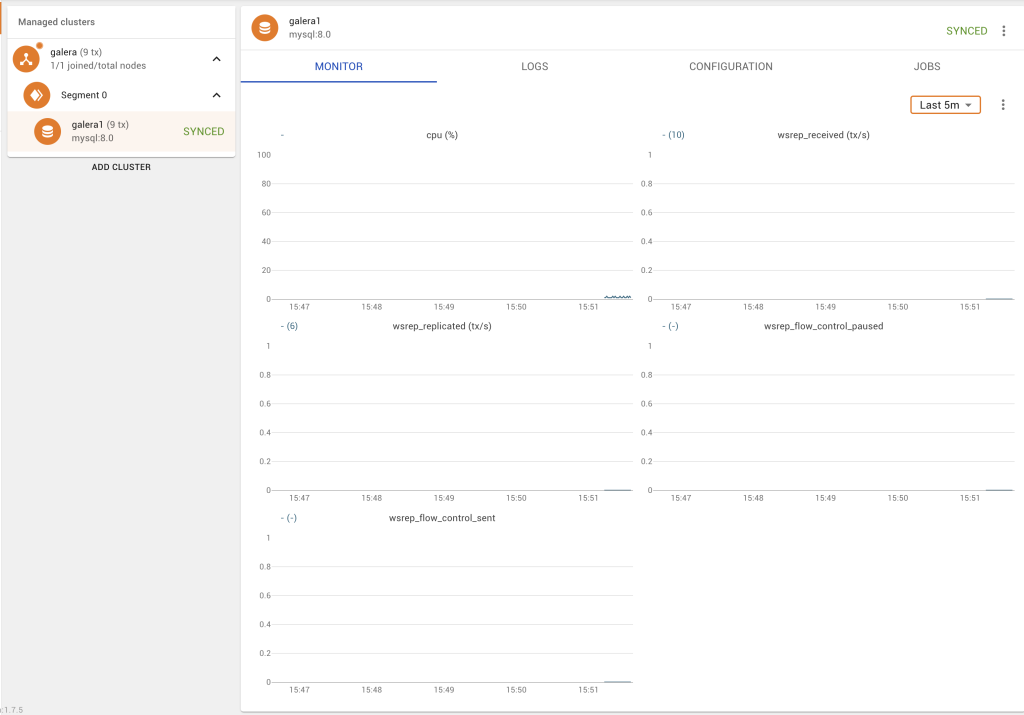
Before long, you should have your first node created. In the event you encounter an error, delete the node and try again.
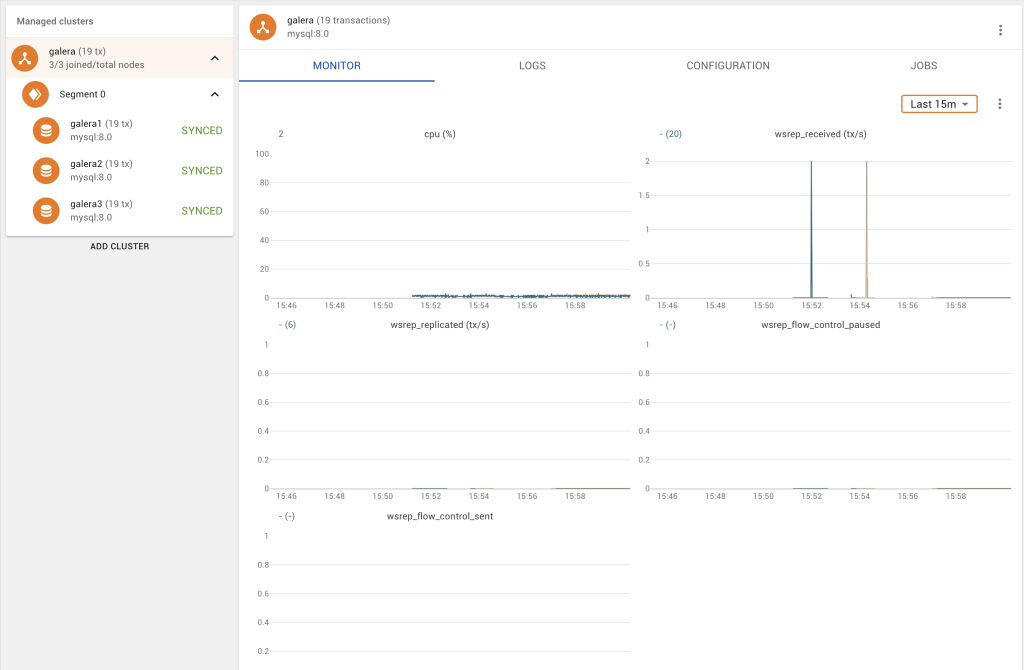
Repeat this for nodes 2 and 3, and before long, you have Galera Manager monitoring your 3-node Galera Cluster!
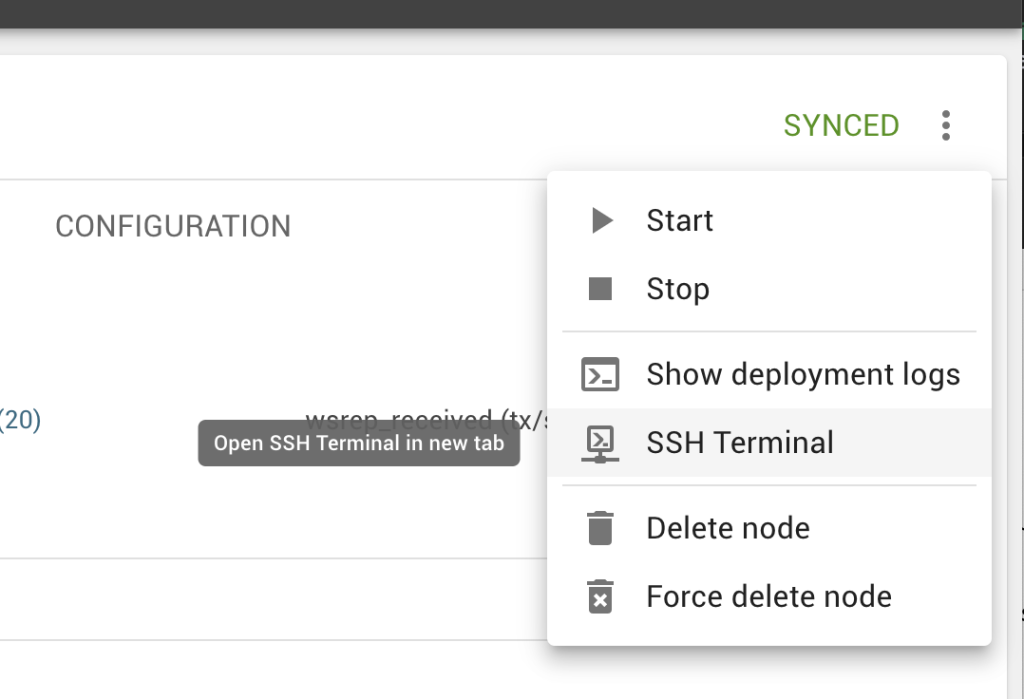
As an added bonus, you can also SSH via the web browser to the nodes you have deployed. Note that you are unable to start/stop the node since this mode is truly only for monitoring.
Happy monitoring your Galera Clusters via Galera Manager!
