In the event that you are not planning to deploy Galera Cluster using Galera Manager on your own on-premise hosts, it is worth noting that Galera Manager supports the ability to automatically deploy a 3-node Galera Cluster in Amazon Web Services (AWS) Elastic Compute Cloud (EC2) automatically, just by suppling your API key information. Naturally, we also made a video on a step-by-step video on how to install Galera Cluster in an Amazon EC2 using Galera Manager.
It is worth noting that you can use the free tier to deploy your Galera Cluster with Galera Manager for testing purposes.
Obtain Galera Manager via filling in the form. Logon to your AWS Console. Launch just one EC2 instance. In this example, we will use a t2.micro with 8GB of disk space. Note that logs will get large, fast, so we do recommend a minimum of 100GB of space for your Galera Manager instance. We can choose Amazon Linux 2 as the host OS. Just note that you really should only use the x86_64 and not the ARM variants as we only build for x86_64. Either create a new key pair, or ensure you already have an existing key pair. We cover all this from the first minute in the video. The rest of the defaults are fine, so you can launch an instance.
Now you’ll need to login, and you can do so similarly: ssh -i gmd.pem ec2-user@3.70.232.44.
Once you have the gm-installer on your Galera Manager host, remember to execute: chmod +x gm-installer. You can do this via a simple scp. We recommend also executing sudo su to install Galera Manager as the root user.
Then you can verify the version: ./gm-installer version gm-installer version 1.9.3 (linux/amd64)
And to get started, execute: ./gm-installer install
Accept the license agreement, enter the admin password, enter the IP (means you get a install over HTTP) or hostname (this install then executes over HTTPS), and you’re on your way to getting your Galera Manager host installed.
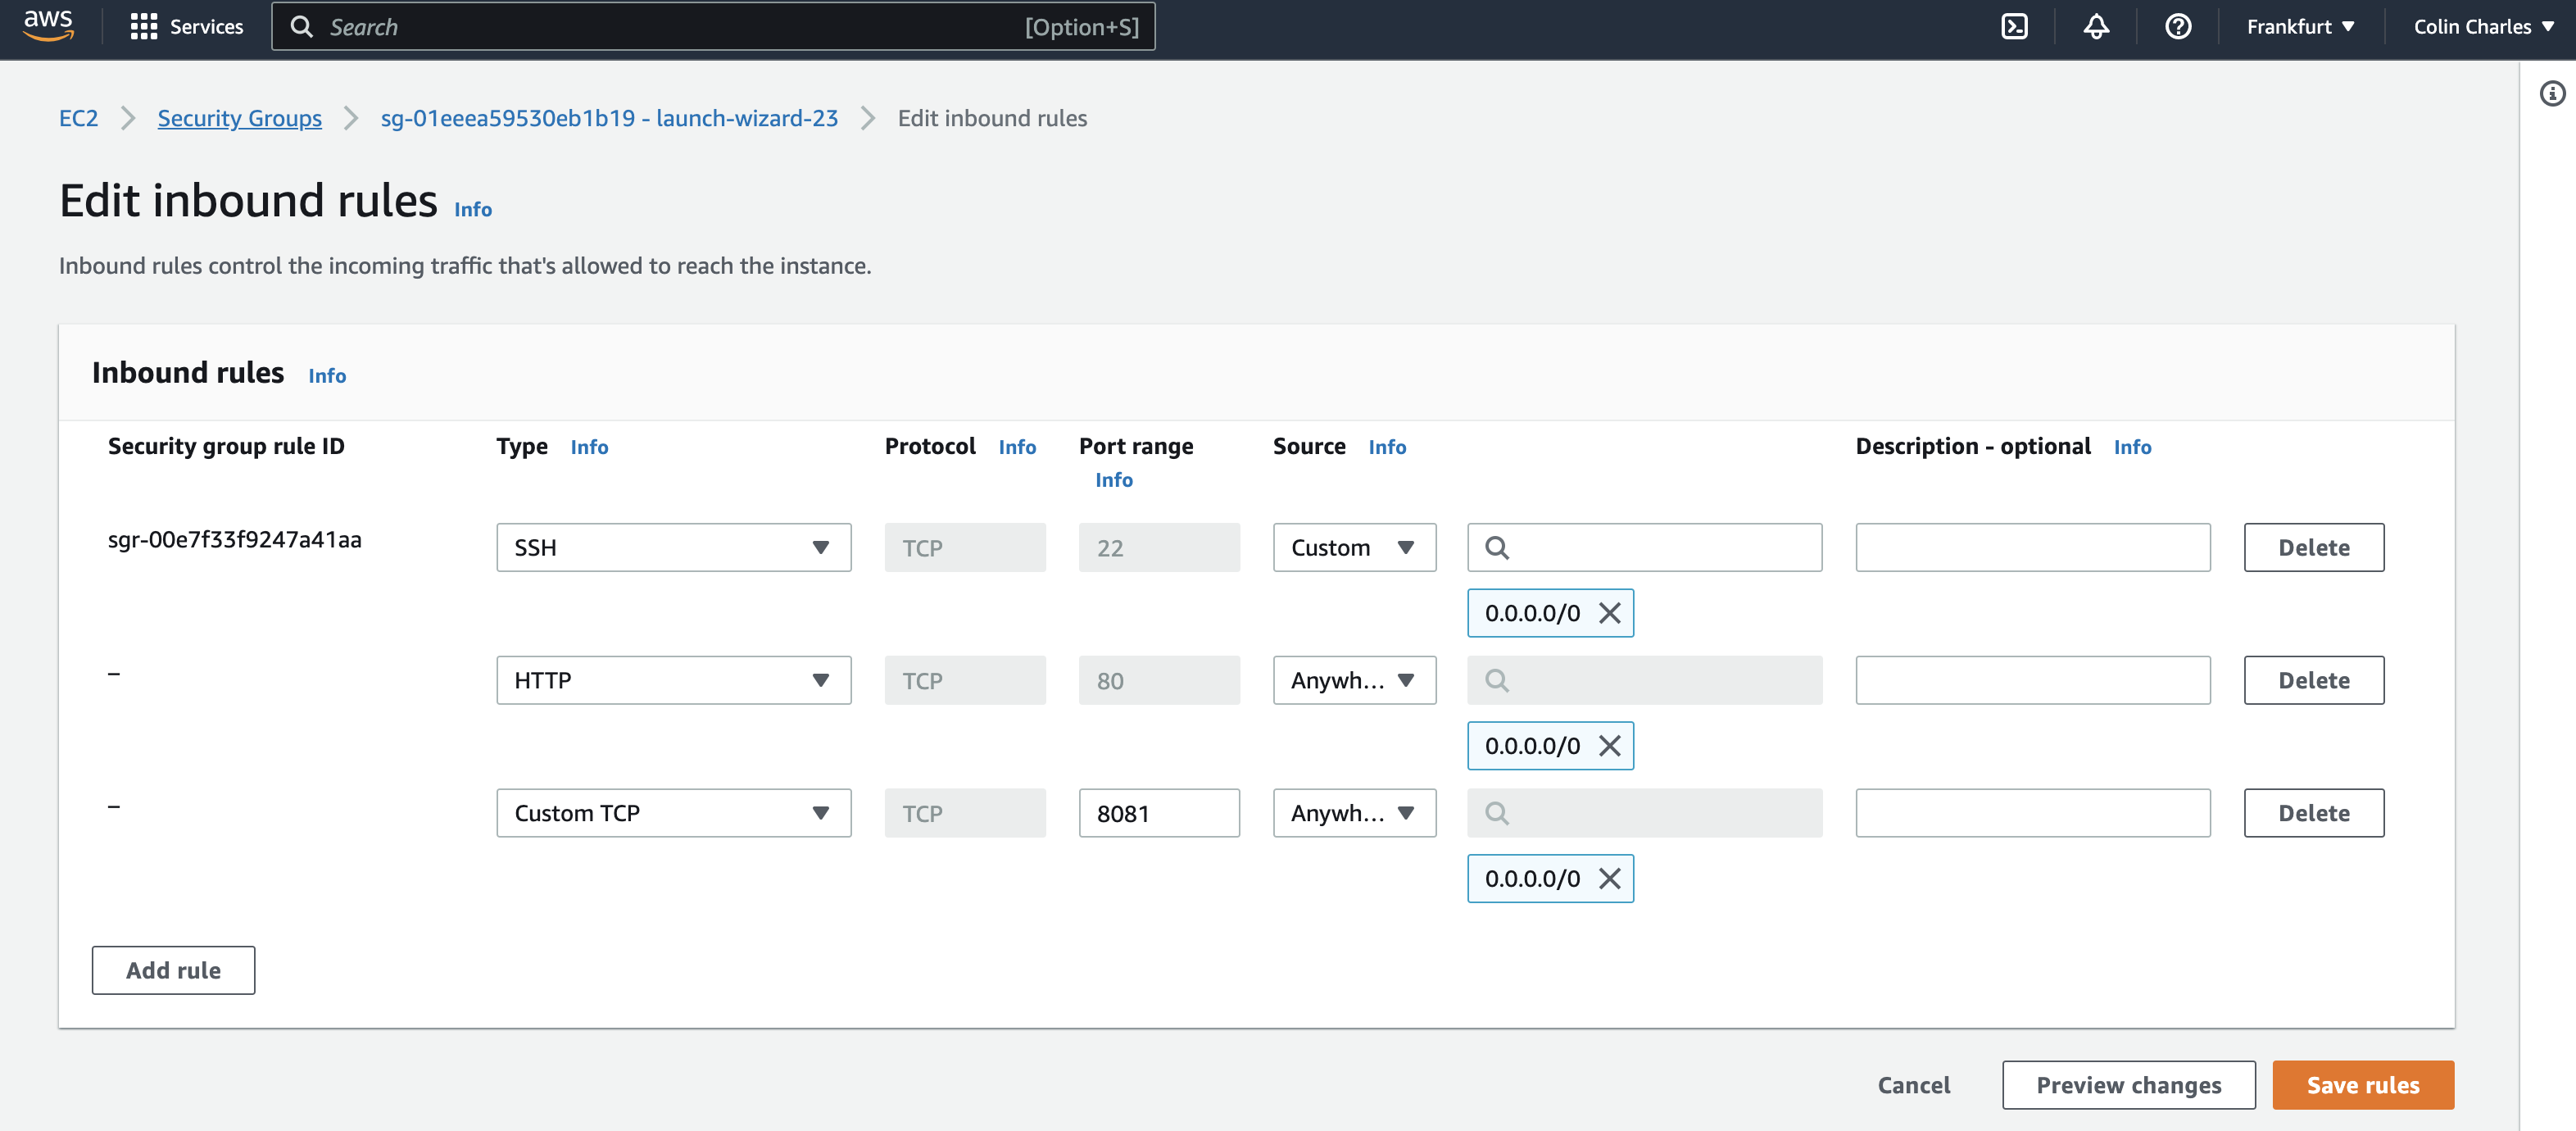
Typically this installation process takes less than 5 minutes, as it has to pull in packages from multiple repositories. It is also important to ensure that if you have to to open up TCP ports 80, 8081. 443 will also apply if you’re using HTTPS. You do this with Security Groups, as illustrated. It is also in the video at 5:20.
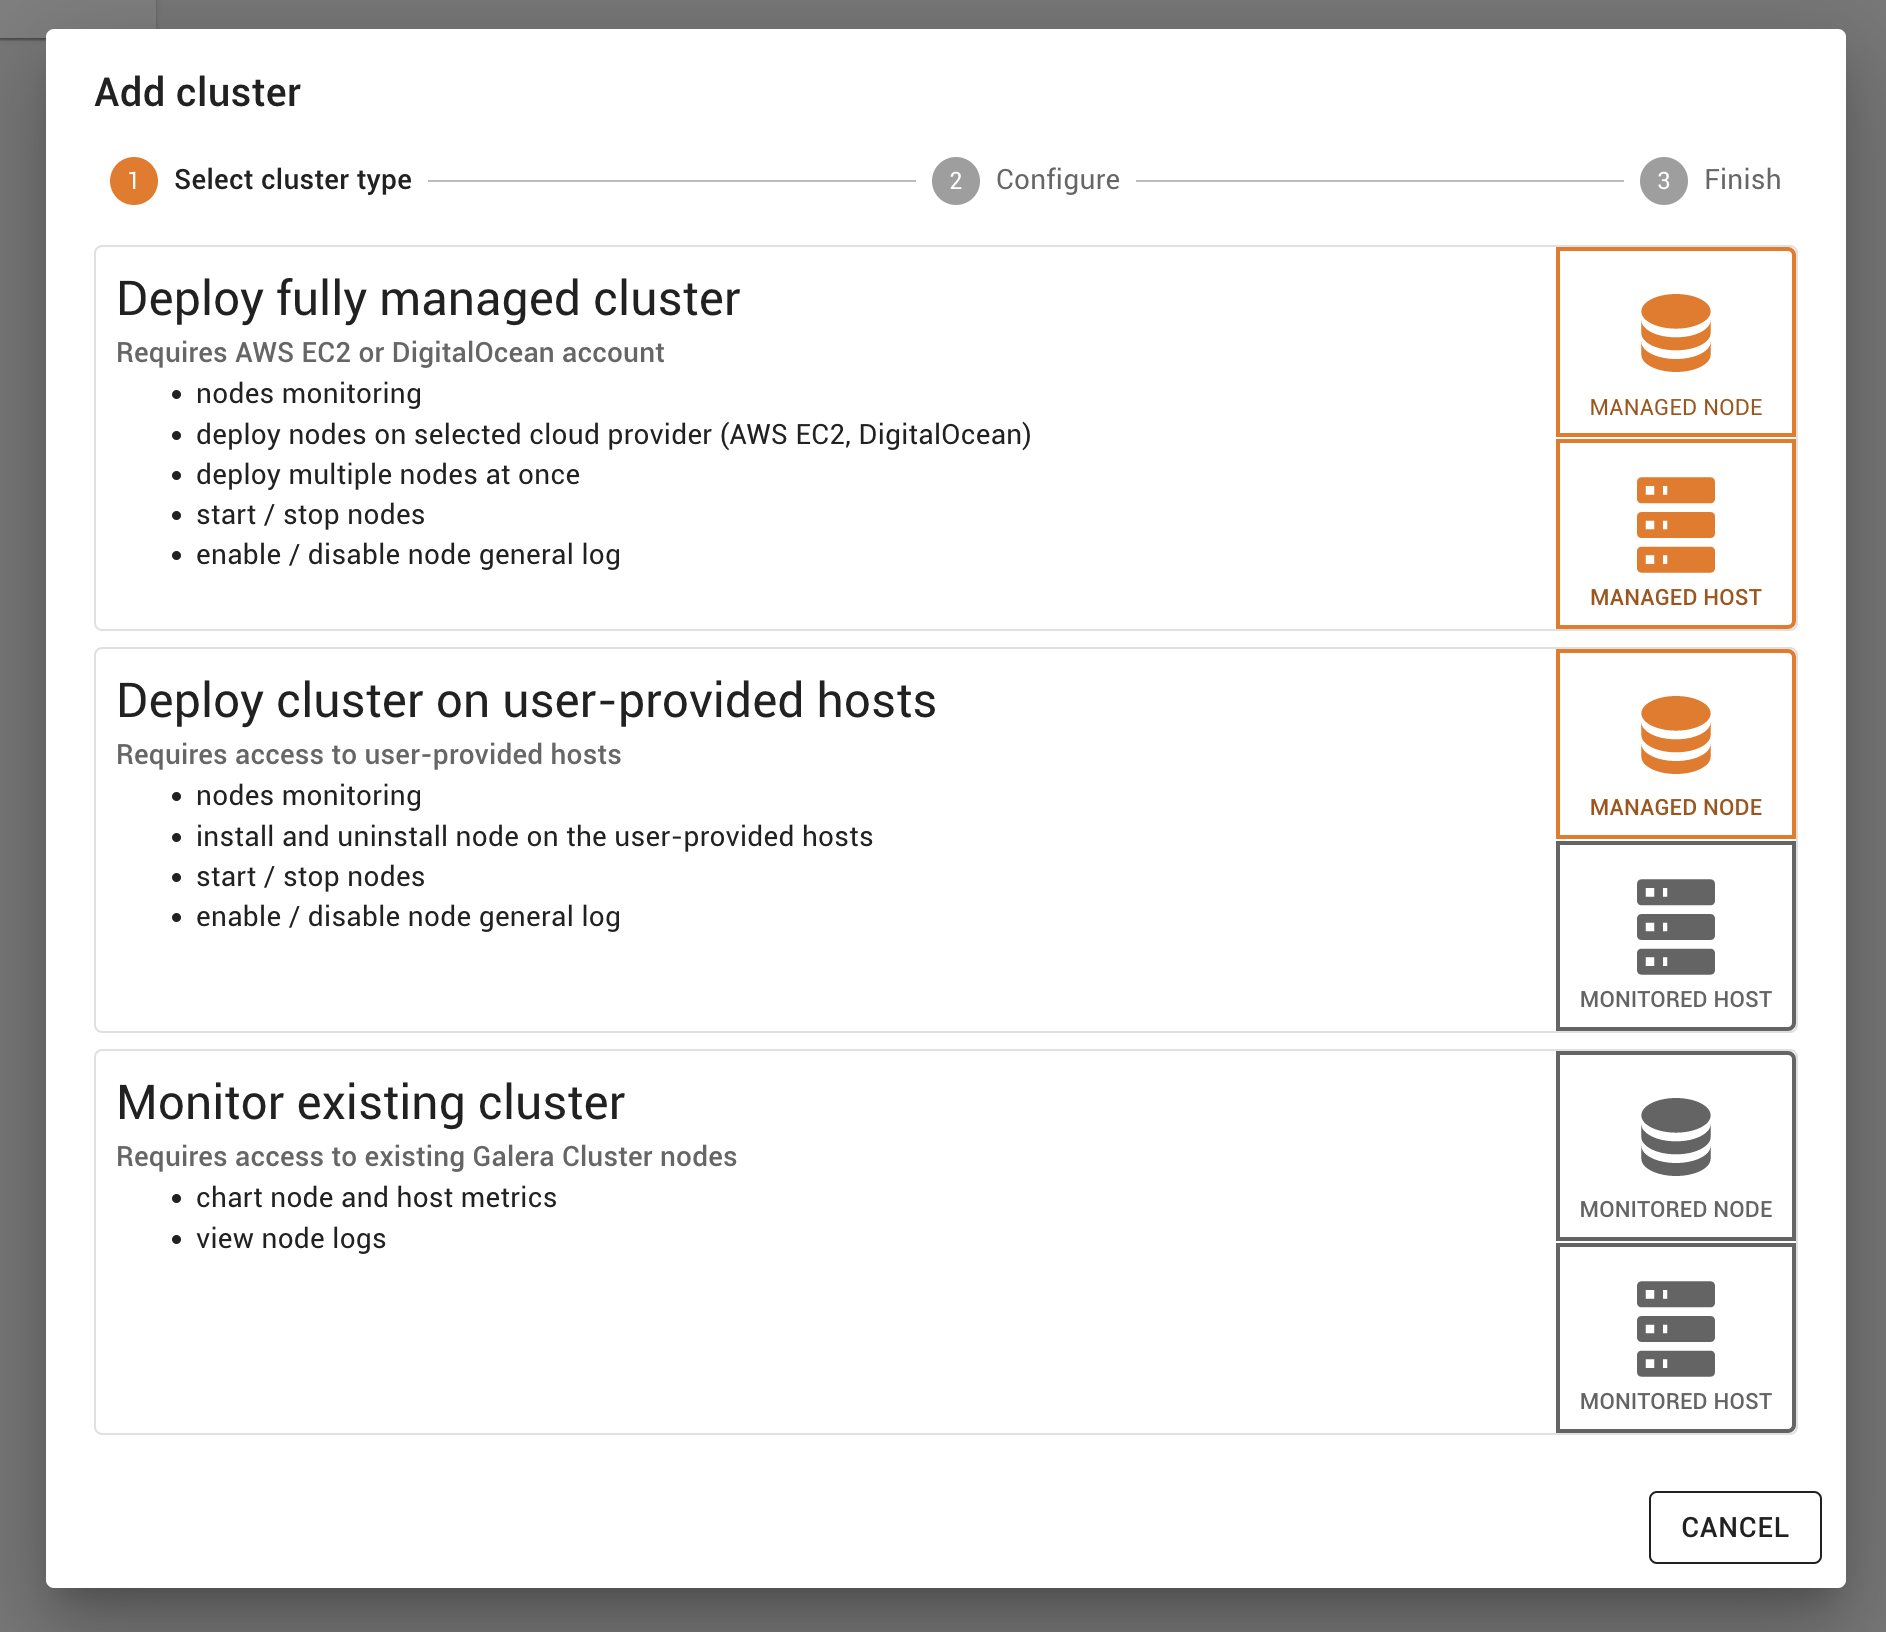
You will now see the login screen, fill in your credentials that you entered on the command line earlier. As you can see, by default there are no clusters, and when you click on it, you are given options to deploy a fully managed cluster, or to deploy a cluster on user-provided hosts, and finally just to monitor an existing cluster. For the purpose of this document, we are going to take option 1 and deploy fully managed clusters.
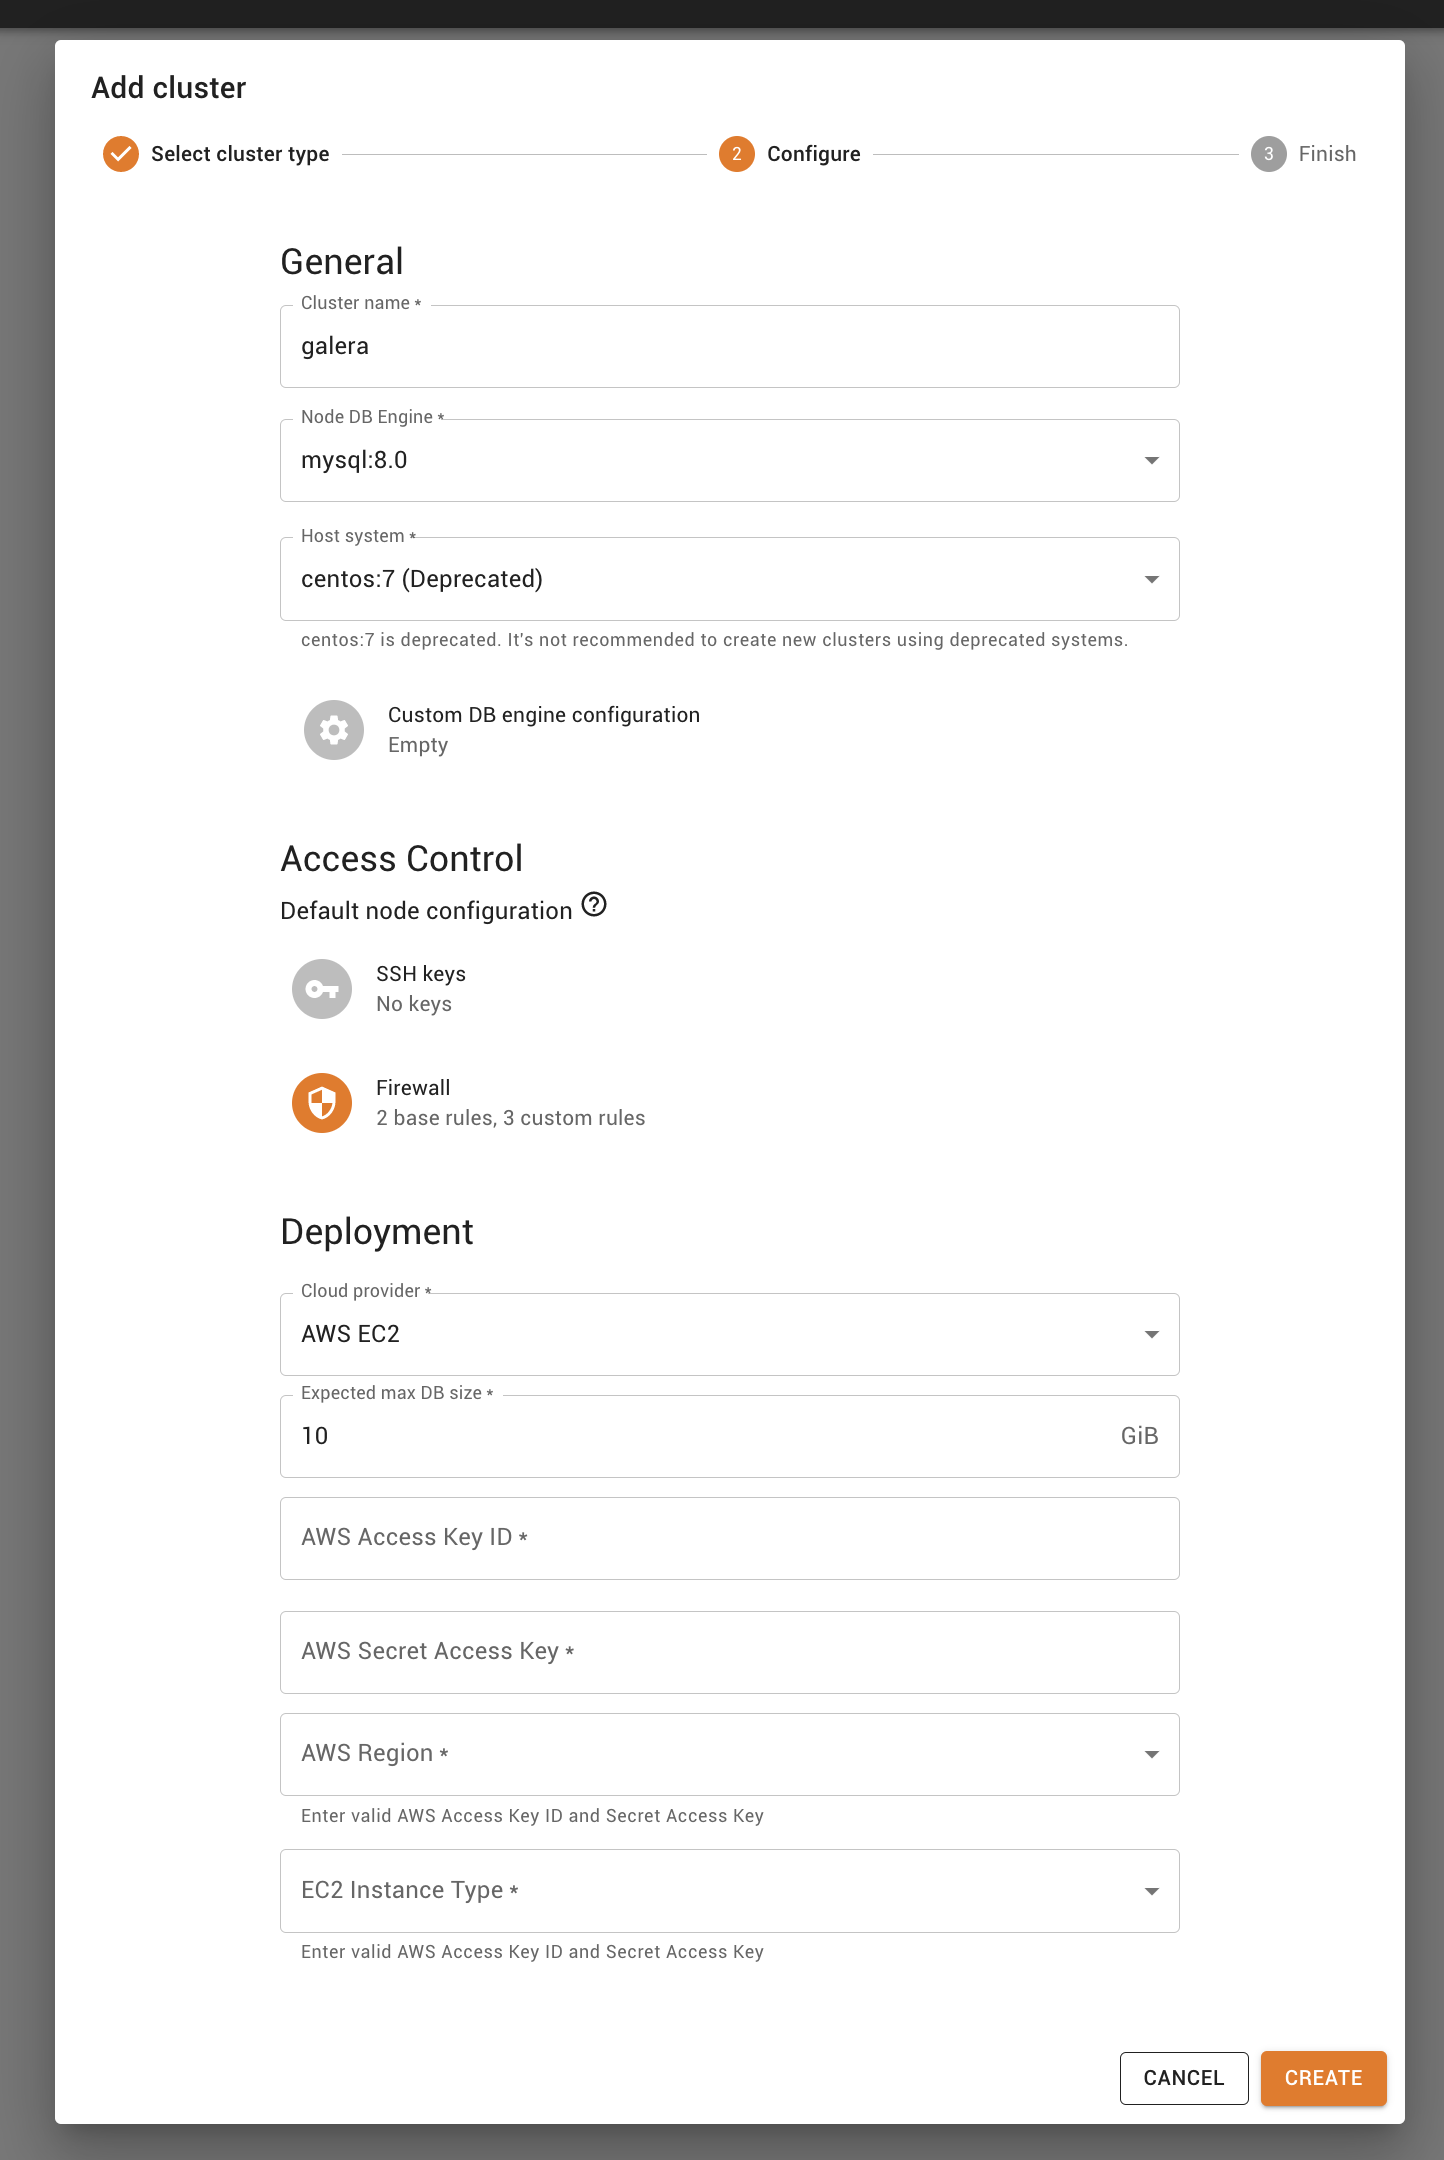
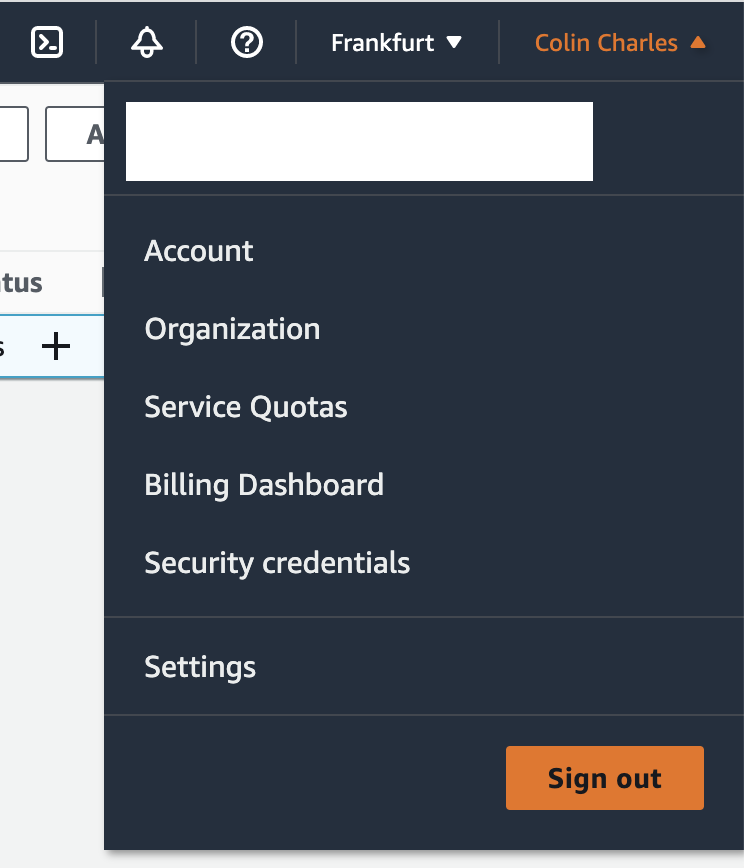
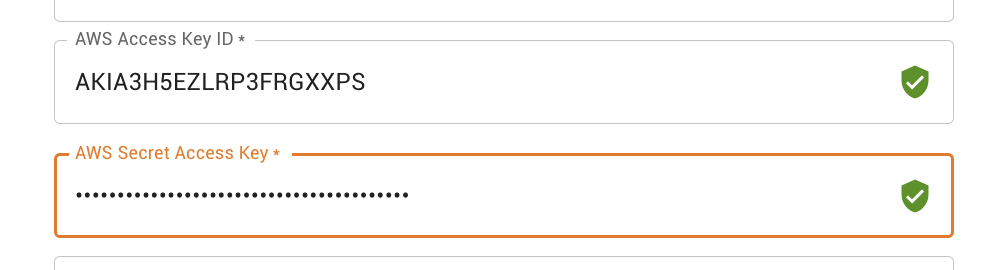
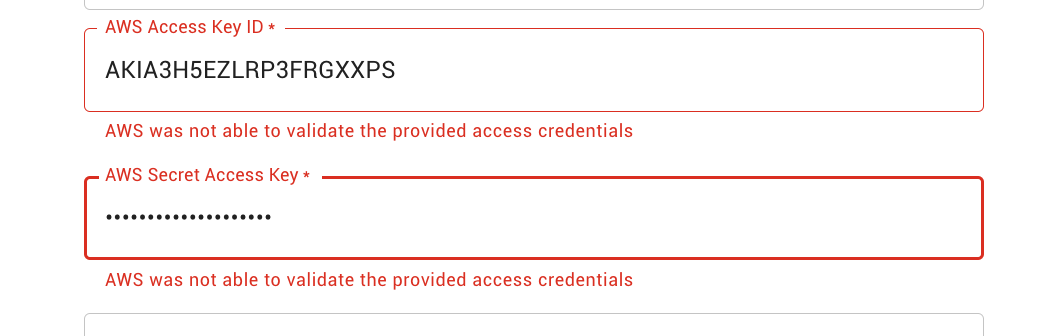
You’ll notice that you’re asked for an AWS Access Key ID and an AWS Secret Access Key. It is only with that, and the ability to pass the credential check, that you’ll be able to select a region and instance type. Go back to your AWS console and get to Security Credentials by clicking on your name on the top right hand corner. Then you should create an Access Key and you will be able to retrieve your access key and show your secret access key. Copy and paste those details into your Galera Manager setup. If there are errors, you will know, and if everything is green, you’re good to select a region and instance type. Start at 16 minutes into the video.

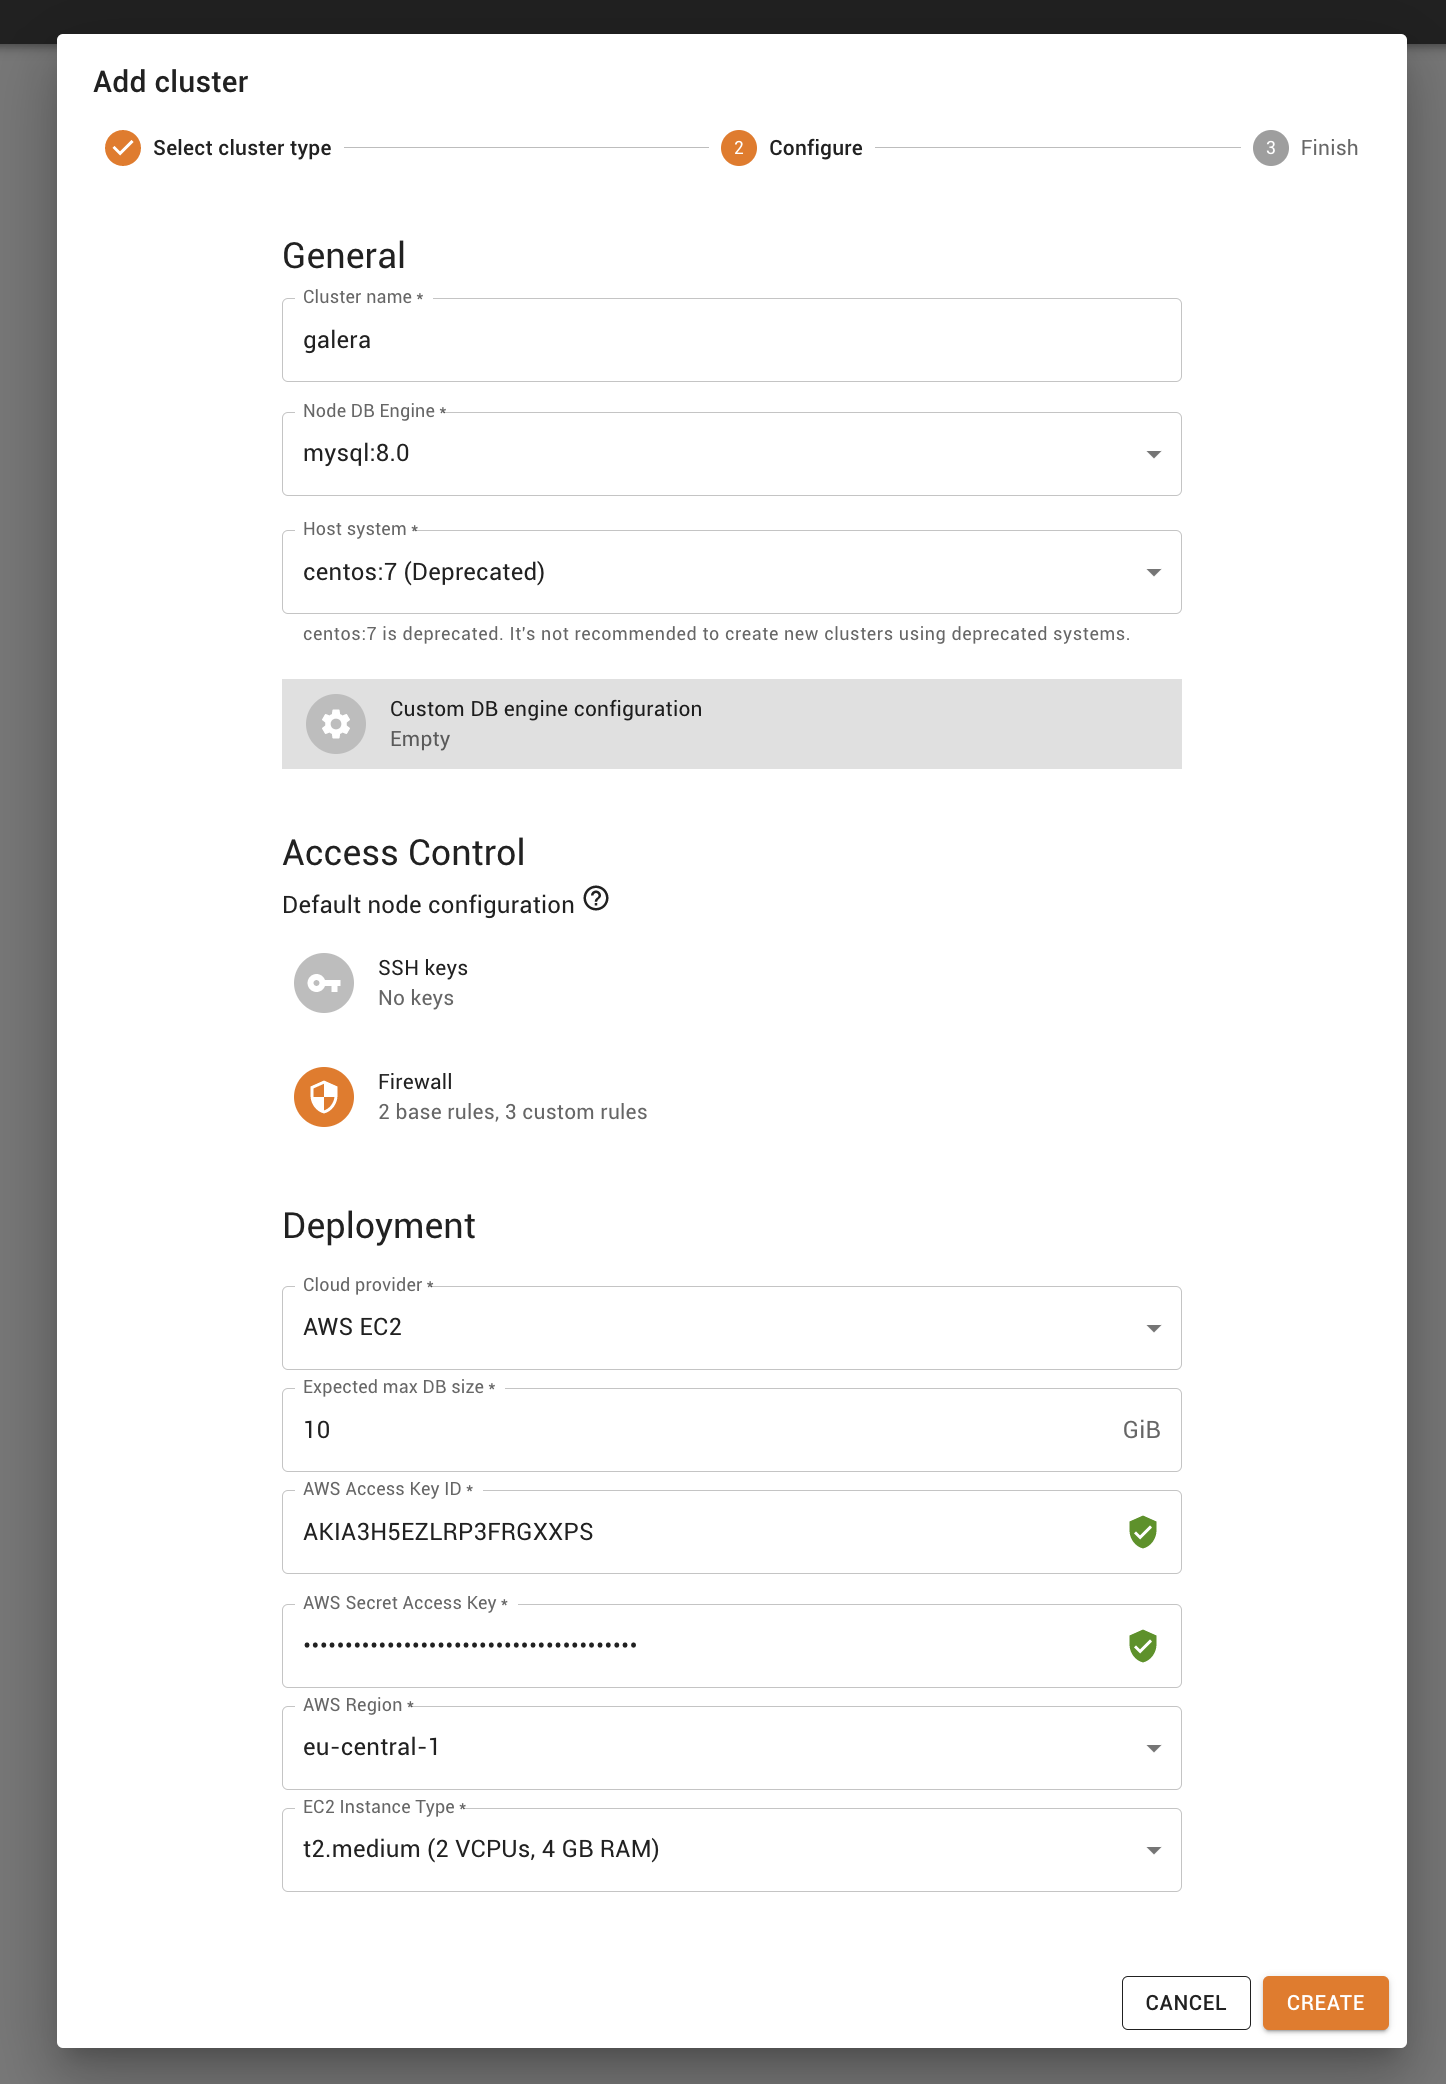
For this example, we continue using eu-central-1 and use a t2.medium instance.
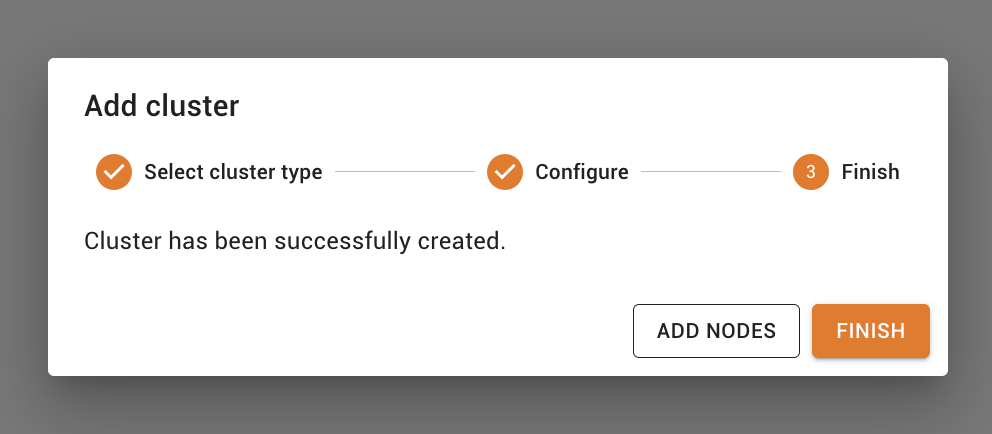
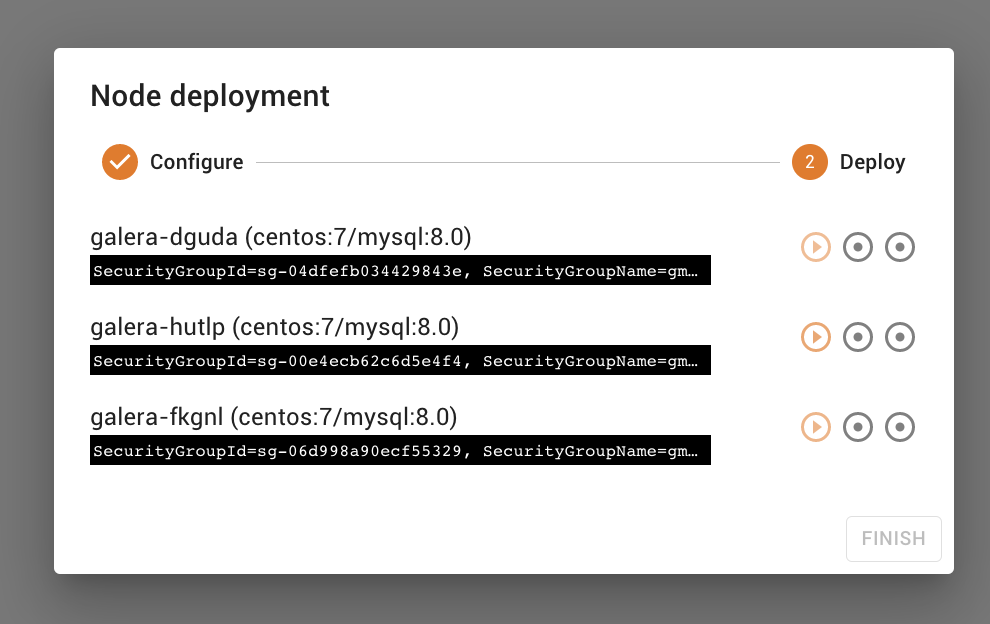
Now that the cluster has been created successfully, we can add nodes. It is as simple as stating you want to start 3 nodes, give it a node name prefix, and clicking Deploy. This can take some time, so set aside easily 5-10 minutes, as it is spinning up 3 EC2 instances.
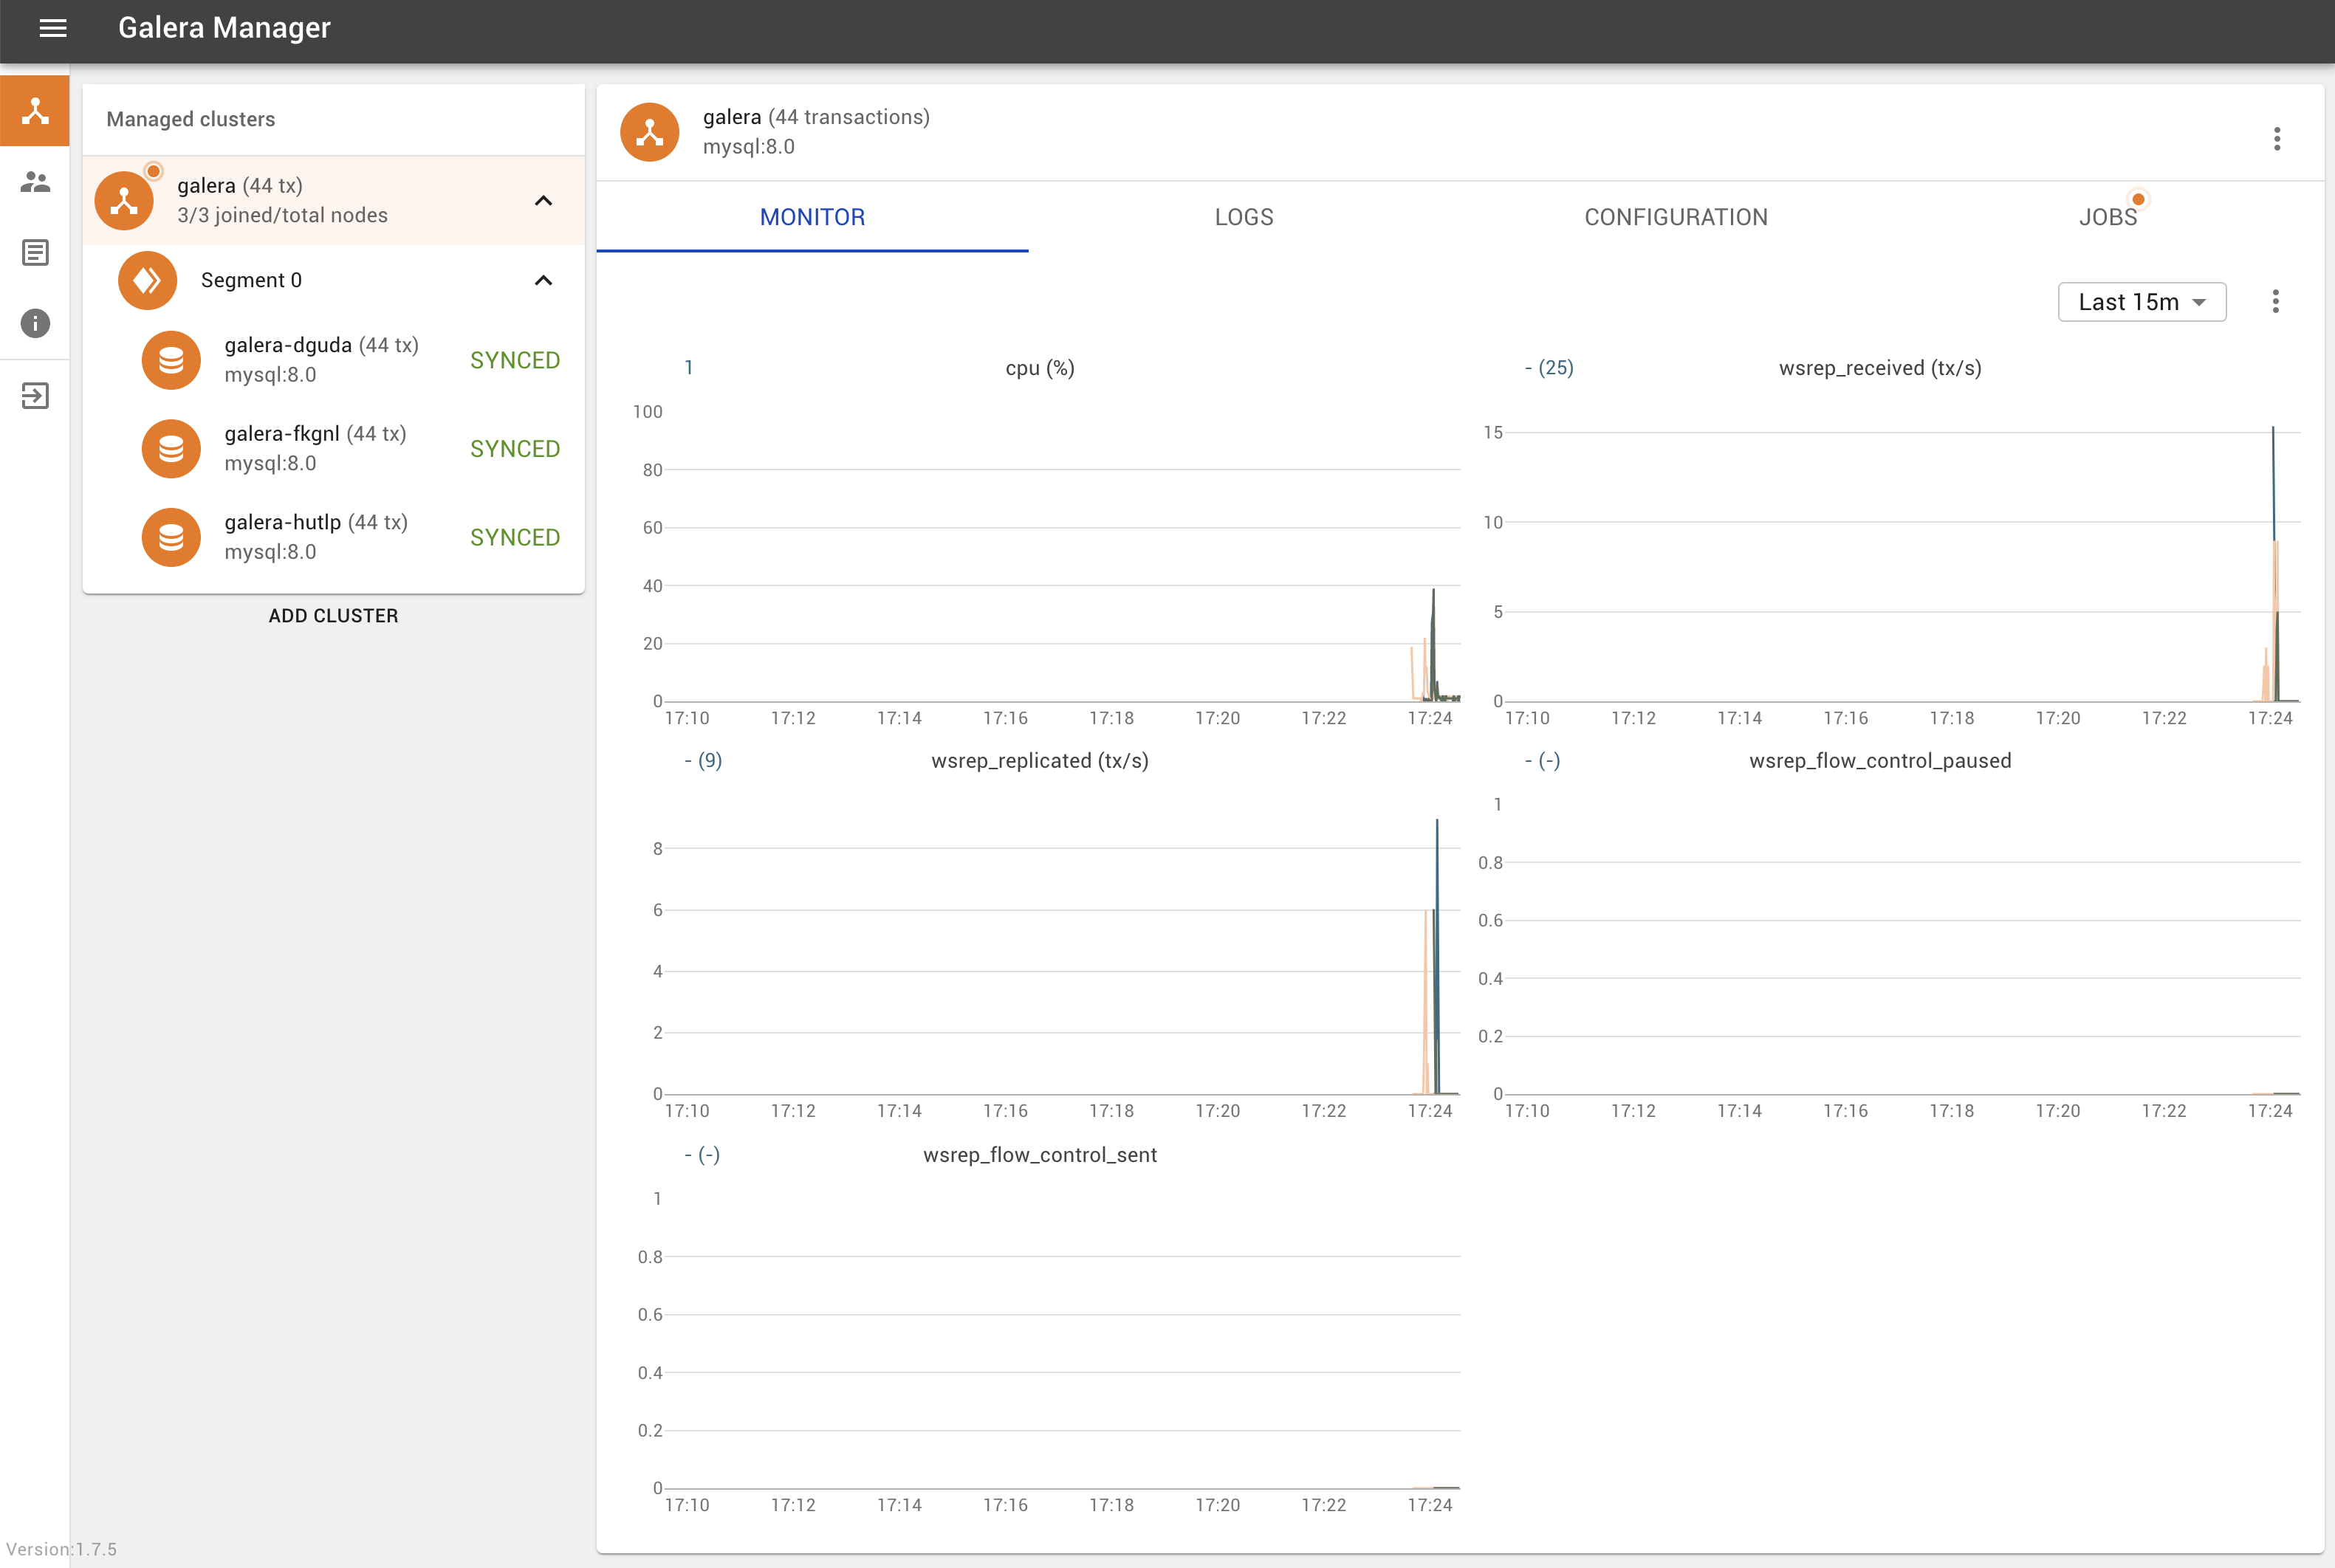
If you go back to your EC2 console, you’ll see that via the API, 3 more instances have been created for you (this being your Galera Cluster).

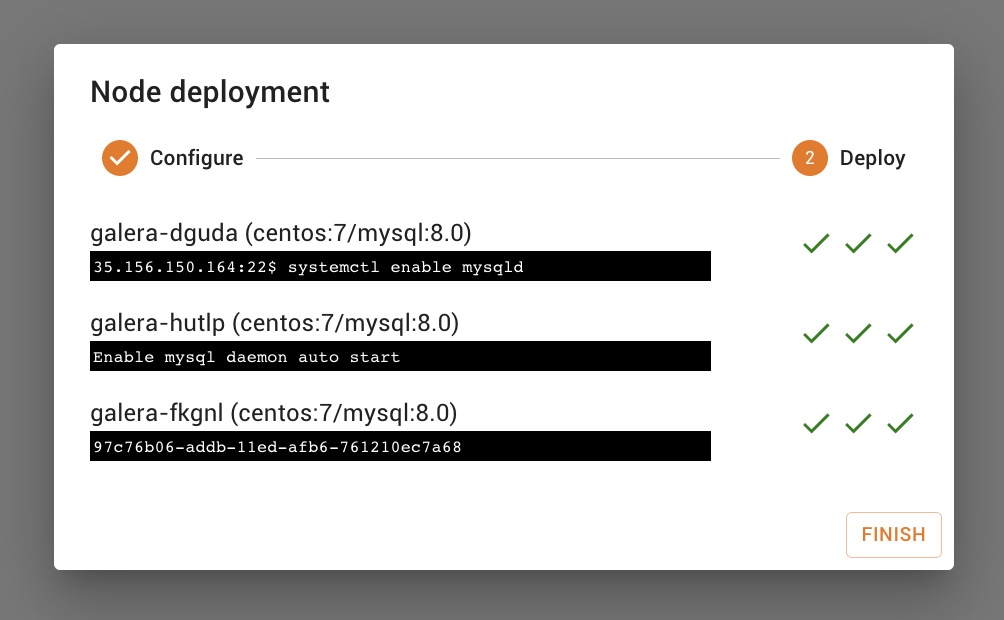
And we’re done!
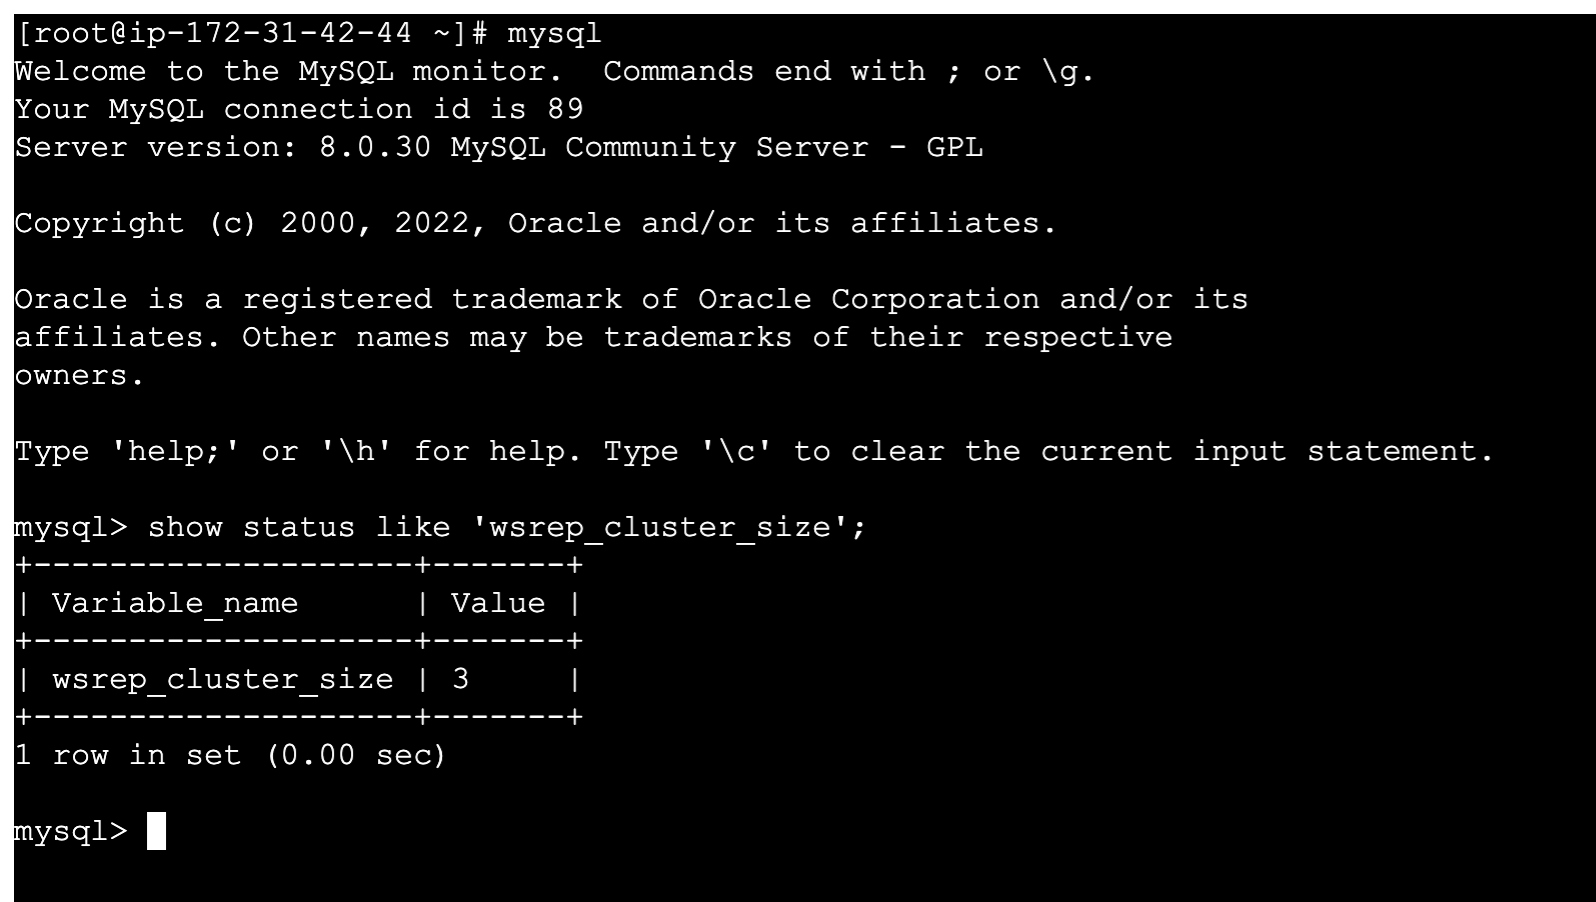
I opted to login using the SSH terminal within the web browser and can verify we have deployed a 3-node Galera Cluster.
Happy deploying Galera Clusters in Amazon EC2 with Galera Manager!