We have in the past covered Installing Galera Cluster 4 with MySQL 8 on Ubuntu 18.04 and also Installing Galera 4 with MySQL 8 on Ubuntu 20.04, and it would seem appropriate to also cover Ubuntu 22.04 LTS (Jammy Jellyfish). We do have excellent documentation and we also have the ability for you to automate all of this via the GUI tool, Galera Manager.
Prerequisites
- All 3 nodes have to have Ubuntu 22.04 LTS installed. The current version at the time of this writing is Ubuntu 22.04.3 LTS.
- Firewall (if setup) needs to accept connections on 3306, 4444, 4567, 4568 (a default setup has the firewall disabled)
- AppArmor disabled (this is as simple as executing: systemctl stop apparmor and systemctl disable apparmor). You might find that this isn’t even enabled by default.
First, you will need to ensure that the Galera Cluster GPG key is installed:
apt-key adv --keyserver keyserver.ubuntu.com --recv 8DA84635
You will see the message as follows:
Warning: apt-key is deprecated. Manage keyring files in trusted.gpg.d instead (see apt-key(8)).
Executing: /tmp/apt-key-gpghome.pEjdHcaXNs/gpg.1.sh --keyserver keyserver.ubuntu.com --recv 8DA84635
gpg: key 45460A518DA84635: public key "Codership Oy (Codership Signing Key) <info@galeracluster.com>" imported
gpg: Total number processed: 1
gpg:               imported: 1
You can now edit the /etc/apt/sources.list.d/galera.list to include the following lines:
deb https://releases.galeracluster.com/galera-4.17/ubuntu jammy main
deb https://releases.galeracluster.com/mysql-wsrep-8.0.35-26.16/ubuntu jammy main
You should also pin the repository by editing /etc/apt/preferences.d/galera.pref:
# Prefer the Codership repository
Package: *
Pin: origin releases.galeracluster.com
Pin-Priority: 1001
You should now run an apt update and then install Galera 4 with MySQL 8:
apt install galera-4 mysql-wsrep-8.0
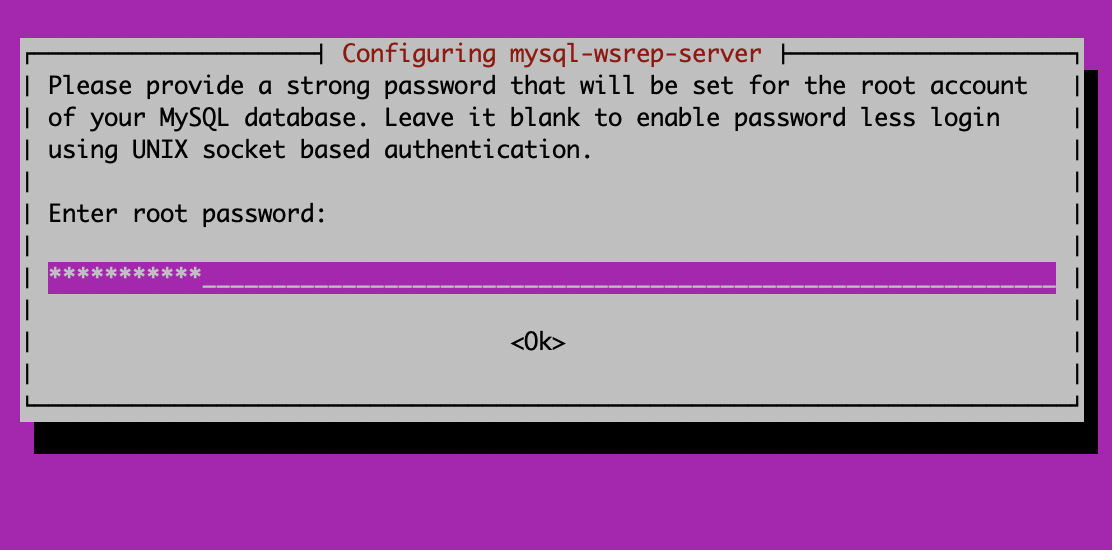
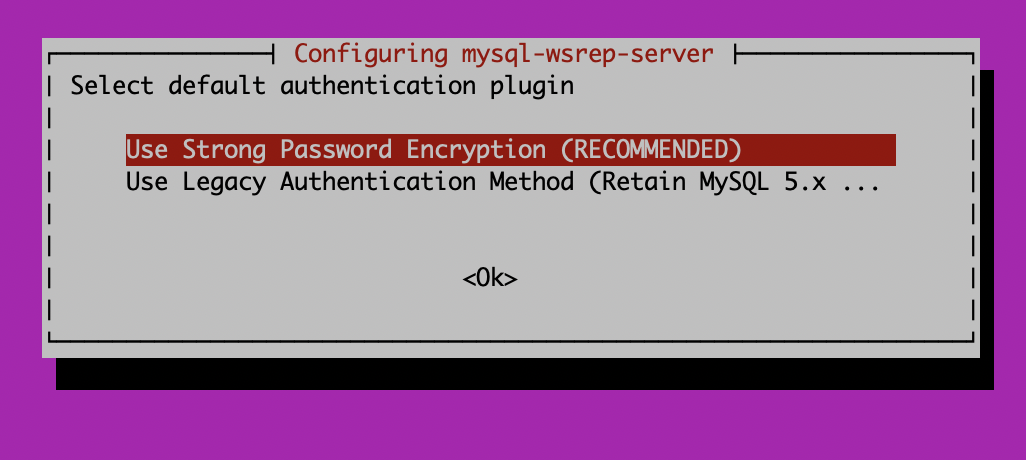
You are now told to enter a root password as apt/dpkg supports interactivity during installations. Please enter a reasonably secure password. Then you are asked if you should use a strong password, which is caching_sha2_password (you are encouraged to pick this, compared to the older mysql_native_password).

Now it is as simple as configuring your my.cnf to enable Galera Cluster. You can edit /etc/mysql/mysql.conf.d/mysqld.cnfand add a basic configuration:
[mysqld]
pid-file        = /var/run/mysqld/mysqld.pid
socket          = /var/run/mysqld/mysqld.sock
datadir         = /var/lib/mysql
log-error       = /var/log/mysql/error.log

binlog_format=ROW
default-storage-engine=innodb
innodb_autoinc_lock_mode=2
bind-address=0.0.0.0

# Galera Provider Configuration
wsrep_on=ON
wsrep_provider=/usr/lib/galera/libgalera_smm.so

# Galera Cluster Configuration
wsrep_cluster_name="galera"
wsrep_cluster_address="gcomm://128.199.161.224,188.166.183.120,188.166.242.246"

# Galera Synchronization Configuration
wsrep_sst_method=rsync

# Galera Node Configuration
wsrep_node_address="128.199.161.224"
Execute systemctl stop mysql. Run mysqld_bootstrap only on the first node.
You can execute: mysql -u root -p -e "show status like 'wsrep_cluster_size'" and see:
mysql -u root -p -e "show status like 'wsrep_cluster_size'"
Enter password:
+--------------------+-------+
| Variable_name      | Value |
+--------------------+-------+
| wsrep_cluster_size | 1     |
+--------------------+-------+
Now, when you bring up the second node as simply as systemctl start mysql, you can execute the same command above and will see that the wsrep_cluster_size has increased to 2. Repeat this again for the third node. You can also choose to test replication by creating a database and table on one node, and see that the replication is happening in real time.
To find out more, start MySQL and execute show status like 'wsrep%';.
Remember that you did not have to look for passwords in the error log because this was already executed via the interactive installer. Enjoy your deployment of a 3-node Ubuntu 22.04 LTS Galera Cluster.