Since the beta of Galera Cluster 4 with MySQL 8 has been released, we’ve had people asking questions as to how to install it on Ubuntu 18.04. This blog post will cover just that.
Prerequisites
- All 3 nodes need to have Ubuntu 18.04 installed
- Firewall (if setup) needs to accept connections on 3306, 4444, 4567, 4568 (a default setup has the firewall disabled)
- AppArmor disabled (this is as simple as executing: systemctl stop apparmor and systemctl disable apparmor).
Installation and Configuration
We have good installation documentation as well as a quick how to get this installed in AWS (though this is CentOS centric).
First, you will need to ensure that the Galera Cluster GPG key is installed:
apt-key adv --keyserver keyserver.ubuntu.com --recv BC19DDBA
This is followed by editing /etc/apt/sources.list.d/galera.list to have the following lines in the file:
deb https://galeracluster.com/wsrep_8.0.19-26.3-rc/galera-4/ubuntu bionic main

deb https://galeracluster.com/wsrep_8.0.19-26.3-rc/mysql-wsrep-8.0/ubuntu bionic main
You should now run an apt update and then install Galera 4 with MySQL 8:
apt install galera-4 mysql-wsrep-8.0
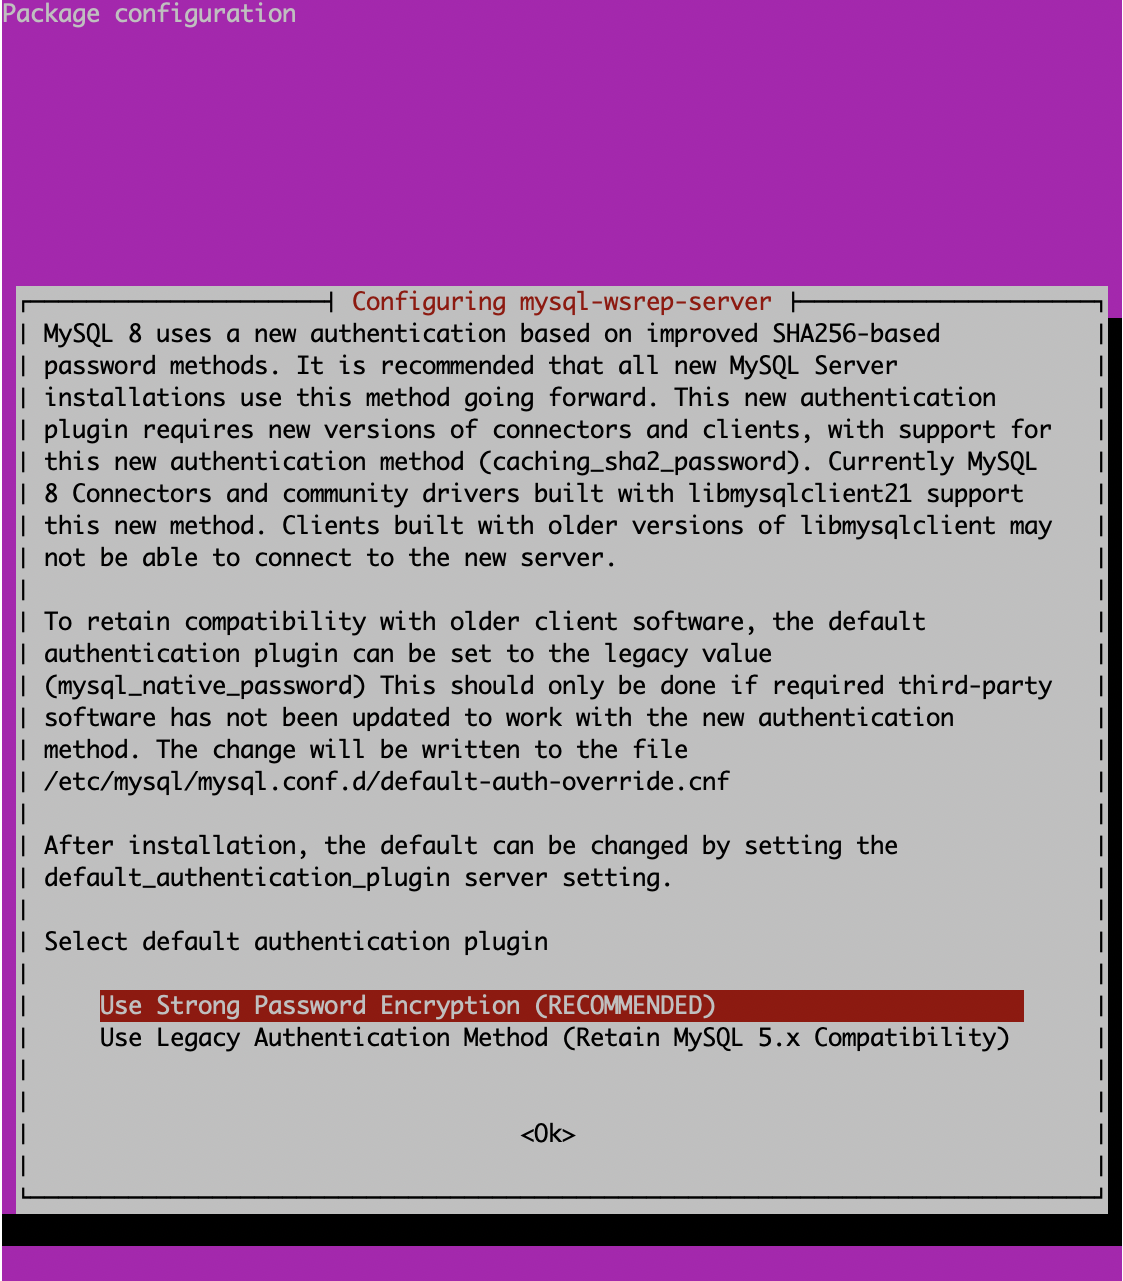
You are now told to enter a root password as apt/dpkg supports interactivity during installations. Please enter a reasonably secure password. Then you are asked if you should use a strong password, which is caching_sha2_password (you are encouraged to pick this).
Then you need to edit the/etc/mysql/mysql.conf.d/mysqld.cnf file to add the following lines:
default_storage_engine=InnoDB
innodb_autoinc_lock_mode=2
innodb_flush_log_at_trx_commit=0
innodb_buffer_pool_size=128M
binlog_format=ROW
wsrep_on=ON
wsrep_provider=/usr/lib/galera/libgalera_smm.so
wsrep_node_name="g1"
wsrep_node_address="ipaddress"
wsrep_cluster_name="galera4"
wsrep_cluster_address="gcomm://ip1,ip2,ip3"
wsrep_provider_options="gcache.size=128M; gcache.page_size=128M"
wsrep_slave_threads=4
wsrep_sst_method=rsync
Remember that you will need to change wsrep_node_name and wsrep_node_address. The above is a very basic configuration.
Ensure that you have stopped MySQL (systemctl stop mysql). On the first node, execute:
mysqld_bootstrap
You can execute: mysql -u root -p -e "show status like 'wsrep_cluster_size'” and see:
+--------------------+-------+
| Variable_name      | Value |
+--------------------+-------+
| wsrep_cluster_size | 1     |
+--------------------+-------+
Now, when you bring up the second node as simply as systemctl start mysql, you can execute the same command above and will see that the wsrep_cluster_size has increased to 2. Repeat this again for the third node. You can also choose to test replication by creating a database and table on one node, and see that the replication is happening in real time.
To find out more, start MySQL and execute show status like 'wsrep%';.
We hope this helps you get started, and we are definitely looking at providing packages for Ubuntu 20.04 which just got released. Look forward to more guides on getting started on other types of Linux distributions.