Installing Galera Manager
Galera Manager host requirements.
- To use Galera Manager, you need to install it on a computer that
- can be accessed from the cluster nodes you want to manage or monitor;
- can be accessed from the computer where you’d want to display the GUI.
Normally that would be a computer in the same network as the prospective cluster nodes. Additionally you may want to consider providing sufficient disk space for the logging and metrics data. Technically Galera Manager can run on one of the cluster nodes, but it is recommended to use a dedicated machine.
Galera manager can use SSL encryption for all communications. However this requires the host to be accessible via a domain name, not just an IP address. Externally resolvable domain name is required to utilize external Certificate Authority.
Download the Installer
The Installer is a simple installation program for installing Galera Manager. When you run it, you will be asked a series of questions about configuring Galera Manager. After that it will download, install and configure required software packages. When it is finished, the gmd daemon will be started on the Installer Host, allowing you to use this server to deploy new Galera clusters in different environments, as well as monitor already existing clusters.
Below are more details on these steps to download and run the Installer. The questions you will be presented when installing are fairly self-explanatory. However, you may want to read this page before beginning, in case there are questions about which you want to know more before starting the installation.
To install Galera Manager, you will need to download the Installer to the computer chosen as the Galera Manager host. Currently Installer runs on the following x86_64 Linux distributions: Ubuntu 20.04 and Ubuntu 22.04, Debian 11 (“bullseye”) and Debian 12 (“bookworm”), RedHat 8 and RedHat 9. Eventually, the Installer will be made available for other distributions.
After you’ve decided on and prepared the Galera Manager Host, you will need to download the Installer from Codership’s site at this address:
chmod +x gm-installer
Having downloaded the installation program and made it executable, you are ready to run the Installer to install Galera Manager.
Start the Installer
There are two options available at this time when starting the Installer: install and certificates. The install option is necessary to install Galera Manager. The certificates option is used to generate your own, self-signed SSL certificates for encryption. Both options may be given together.
Note that to safely use SSL encryption Galera Manager host needs to be accessible through a valid DNS name (domain names given by Amazon EC2 do not count). The Installer will refuse to configure SSL encryption if the host has only an IP address. Galera Manager will retain full functionality working via unencrypted links.
Below is how you would start the Installer with only the install option. You’ll have to run it with superuser privileges:
sudo ./gm-installer install
After starting the Installer, you will first be asked to accept the Galera Manager End-User Licensing Agreement (EULA). Below is how this question will be presented—although it might change slightly in future releases:
To use GMD you must accept EULA.
Press [a] to accept it, [r] to read the EULA text, [n] to reject EULA.
If you are willing to accept the agreement, enter a. If you’d like to read the agreement, enter r and it will be displayed on the screen—along with the opportunity again to accept or reject the agreement. You can also read the agreement in the documentation before even starting to install.
User Names & Passwords
Next you will be asked for Galera Manager repository address. If you’ve been given a link to a private repository, you will have to enter your user name and password for the repository. Then you will be asked for the login and password of the initial administrator of Galera Manager. You may want to ensure you have answers to the following questions:
GMD Package Repository URL (blank for default):
GMD Package Repository User:
GMD Package Repository Password:
GMD Admin User Login [admin]:
GMD Admin Password:
The default user name is admin. Enter whatever password you’d like to use for the administrator. You’ll be able to remove this user later and add a replacement administrator later, as well as add other users with lesser privileges. This is covered on the Adding Users to Galera Manager page.
Domains & Certificates
You’ll next need to provide either an IP address or a domain name for Galera Manager, the address on which you are running the Installer. This is the server where you will be accessing Galera Manager. Here are the related questions you will be presented:
By what domain name or IP address this service will be reached?
(Note that an externally resolvable domain name is needed to use an external
Certification Authority, otherwise we will have to resort to self-signed
certificates for SSL if encryption is required):
Enter your domain name or IP of the server:
An IP address works well, but you won’t be able to utilize an external certification authority, neither you will be able to use self-signed certificates.
Since you entered an IP address, SSL won't be available.
As this notification implies, SSL won’t be available if Galera Manager host does not have a domain name.
If you chose to provide a resolvable domain name for Galera Manager host, you will have several options to set up SSL encryption (HTTPS protocol) to protect all Galera Manager connections (from both the GUI client and cluster nodes):
Enter your domain name or IP of the server: gm.example.com
Enable https? [Y/n]
Use LetsEncrypt Certbot to autogenerate the certificates [Y/n]:
Answering Yes to the above question will set up automatic certificates generation and renewal using LetsEncrypt site as a Certificate Authority. NOTE: not all domain names are accepted by LetsEncrypt, such as domain names autogenerated by AWS EC2 are not. If you want to set up your own Certificate Authority and/or use your own certificates, answer No and you will be offered to provide them:
Use LetsEncrypt Certbot to autogenerate the certificates [Y/n]: n
Do you want to provide your own SSL CA? [y/N] y
Use your own SSL certificate (y), or let installer generate one (n)? [y/N] y
SSL CA Certificate [ca.crt]:
SSL CA Certificate Key [ca.key]:
SSL Host Certificate [ssl.crt]:
SSL Host Certificate Key [ssl.key]:
NOTE: if you want to specify your own Certificate Authority, you need to make sure that it is known to your GUI frontend as well, otherwise it won’t be able to confirm the validity of the Galera Manager certificate and most likely will refuse to connect with the warning about security risk.
Also you will be responsible to re-generate your own SSL certificate after it expires.
Closing Messages
After you finish answering all of the questions presented to you by the Installer, it will install and configure the software needed and start Galera Manager. You’ll see messages regarding this pass by on the screen. At the end, if it is successful, you will see a message like this:
INFO[0223] Galera Manager installation finished. Enter http://10.0.3.73 in a web browser to access. Please note, you chose to use an unencrypted http protocol, such connections are prone to several types of security issues. Always use only trusted networks when connecting to the service.
INFO[0223] Logs DB url: http://10.0.3.73:8081
Metrics DB url: http://10.0.3.73:8082
IMPORTANT: ensure TCP ports 80, 8081, 8082 are open in firewall.
INFO[0223] Below you can see Logs DB credentials (if once asked):
DB name: gmd
DB user: gmd
DB password: yAl4p84vR8
The installation log is located at /tmp/gm-installer.log
Note the ports that need to be opened on Galera Manager host.
TCP Ports
Regarding ports, notice the line in the example above about TCP ports 80, 8081, 8082. You’ll need to make sure ports 8081, 8082 are accessible from the prospective nodes, and port 80 - from the GUI client.
If you deploy Galera Manager on AWS, those ports are closed by default. Go to the EC2 console in AWS, and click on Security Groups in the left margin. Then look for the security group for the server on which you installed Galera Manager. Edit the Inbound Rules for that group to open those ports (see the screenshot below).
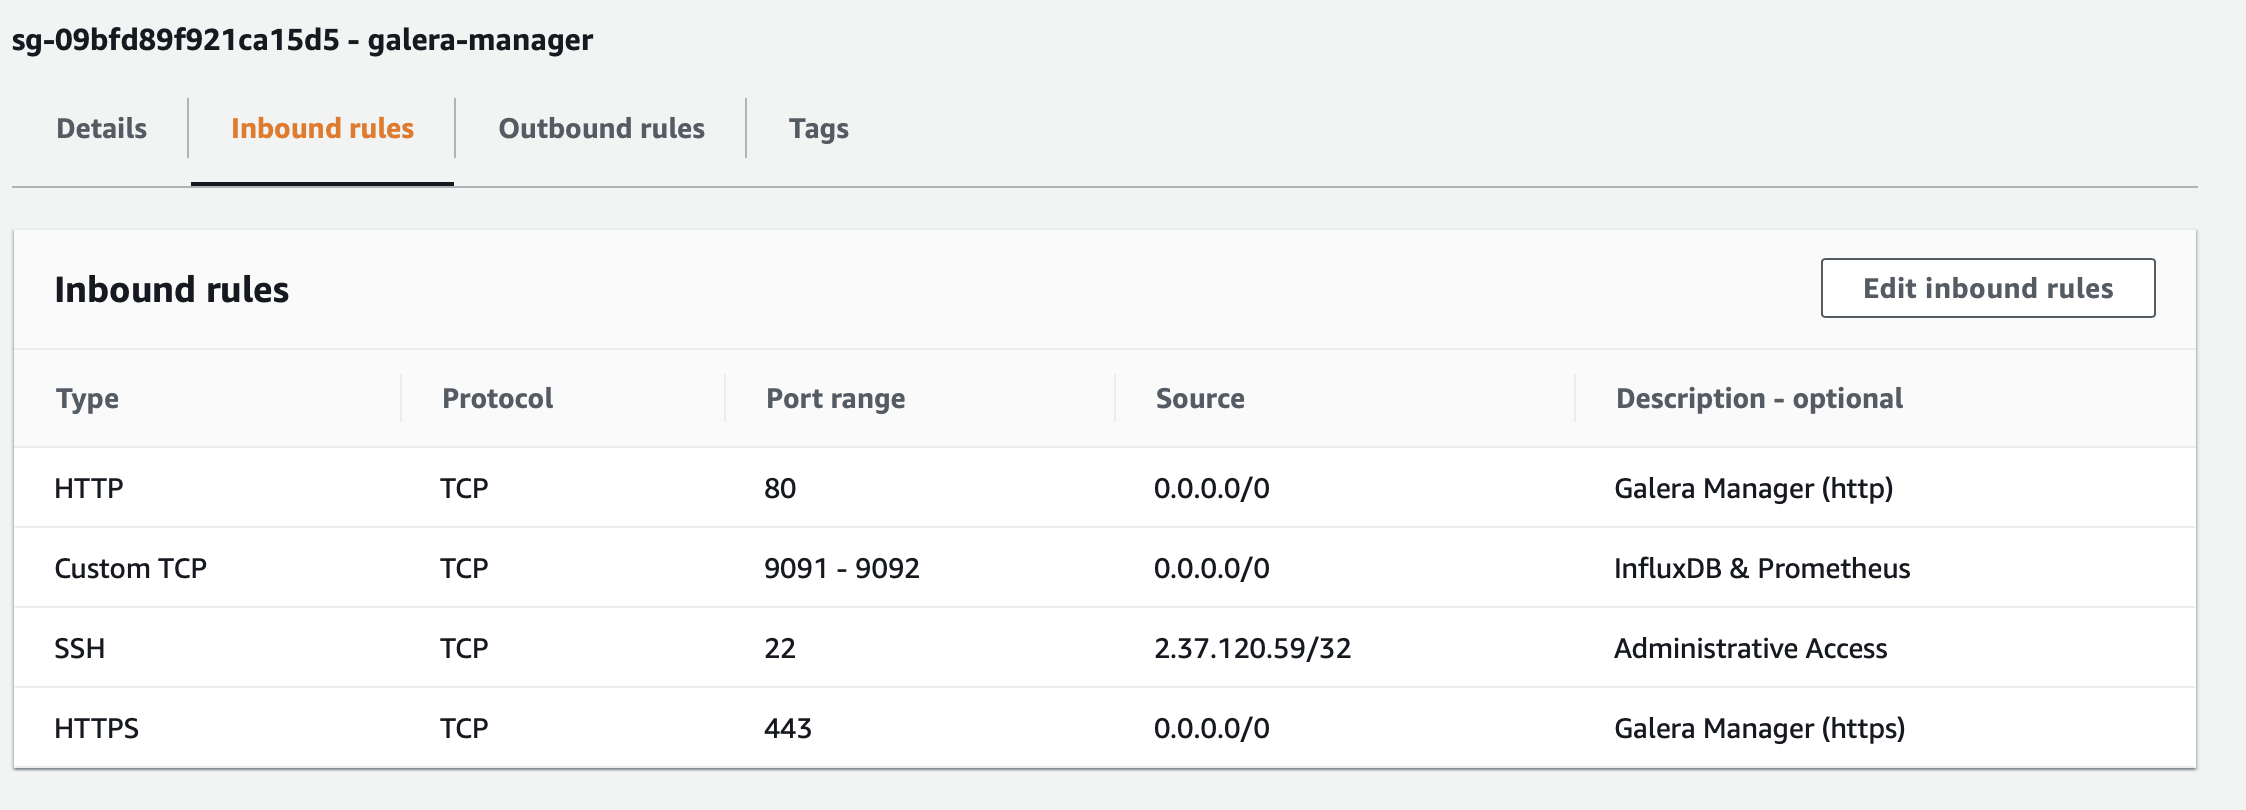
AWS Inbound Rules for Galera Manager (Figure 1)
In the example in this screenshot, notice that we set port 22 to the administrator’s IP address to restrict access, in addtion to requiring an encryption key to log in. The other ports are accessible from anywhere so that you can access Galera Manager from wherever you and other administrators may be located. You may have noticed that port 3306 or other ports used by MySQL and Galera are not included in the Inbound Rules above. Those are needed by the nodes, not Galera Manager. When you add nodes, Galera Manager will add them to each host’s Inbound Rules. You’ll find more on these nuances by reading the AWS Ports with Galera Manager page of this documentation.
Logs & Installation Failure
In the last lines of the installation message, there’s also the login name and password for accessing the InfluxDB database for the logs for the nodes. You wouldn’t normally need to know these unless you are trying to debug something very unusual. They’re used by Galera Manager behind-the-scenes. The logs are viewable within Galera Manager.
Should you encounter problems installing Galera Manager, though, check the installation log. It will be located in your server’s temporary directory (for example, /tmp). You can see the file path and name of the installation log in the last line of a successful installation, as shown above. It is a simple and tidy text file that’s easy to review, if you need it.
Galera Manager Daemon
Once you’ve answered all of the questions presented to you by the Installer, it will finish the installation and start the gmd daemon. You can enter something like the following from the command-line to check that it is running:
ps -e |grep gmd

30472 ?        00:00:40 gmd
The results showing the process identification number and the amount of time gmd has been running will be different on your server. For more information on the gmd daemon, or to learn how to make changes to some of its settings, see the documentation page called, Galera Manager Daemon (gmd).
Connect to Galera Manager
After you’ve finished installing, you may log into Galera Manager with a standard web browser by entering the address where you installed it. At the end of the installation, there was a message like this one:
INFO[0213] Galera Manager installation complete.
Direct your browser to http://34.217.114.37 to use it.
...
In the example here, a domain name wasn’t used during the installation, so the URL has an IP address. If you provided a domain name, though, you would enter that domain name in your browser: https://my-domain.com.
If you didn’t enable https when installing, you would instead start the URL with http (that is, without the s). Be aware that without that extra security layer, your connections will be vulnerable. Therefore, when using http for Galera Manager, you should use only trusted networks.
Shortly after you enter the URL for Galera Manager into your web browser, you will see a simple login screen like the one below. Here you will enter the GMD Admin User name and password you provided during the installation.
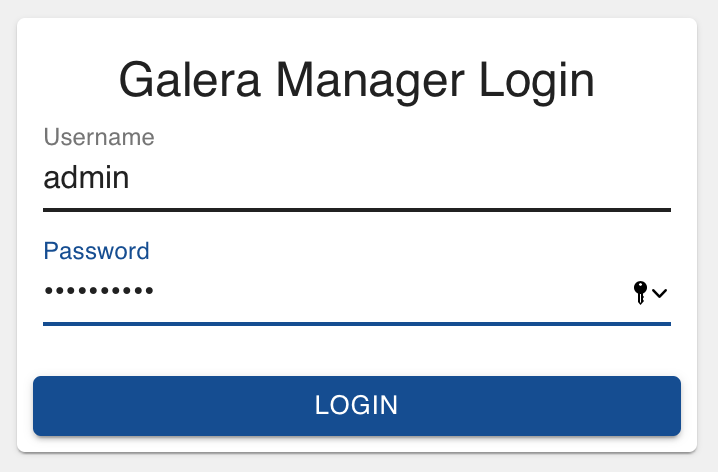
Galera Manager Login (Figure 2)
At the start, after you log into Galera Manager for the first time, you will see only a fairly empty screen that shows something like the screenshot below. This is because you haven’t yet created a cluster or added any nodes.
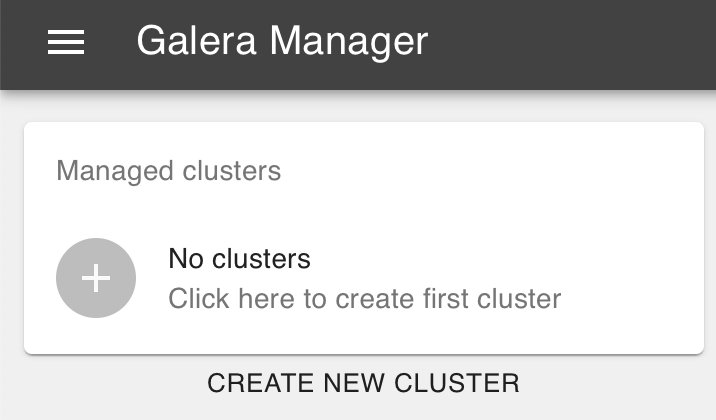
New Galera Manager Installation (Figure 3)
To create a cluster, you would click on the plus-sign icon, or the text below the box where it says, Create New Cluster. The process for adding a cluster and nodes is covered on the Deploying a Cluster in Galera Manager documentation page. For information on upgrading Galera Manager, see the Upgrading Galera Manager (gmd) page.
Galera Manager Documents